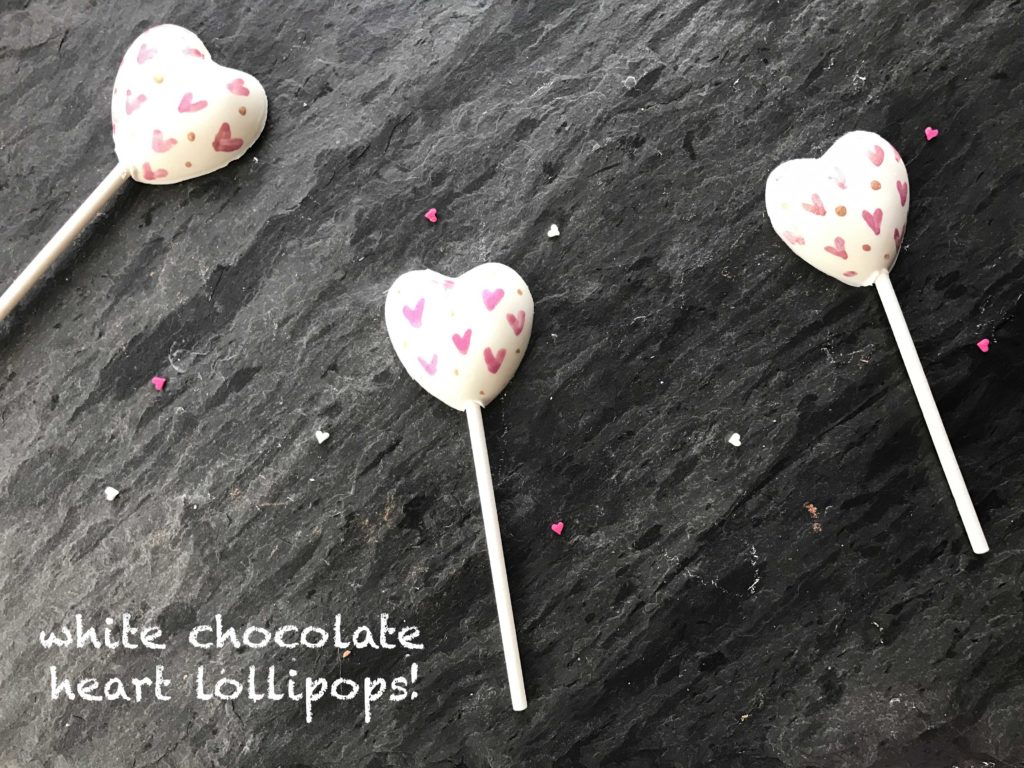
Every year I try to make something sweet to go with Emma’s Valentines and now that she is getting a little older I am trying to make something that we can do together. The past couple of years I have been making cookies so I wanted to go a different sweet direction this year and based upon the sparkly heart Valentines she chose for family and friends I thought that sparkly heart lollipops would go along perfectly!
Granted I can’t ruin the surprise of what Emma’s VDay cards look like (or the ones she made for family and her teachers)…BUT I did want to share the lollipops ahead of time as they are super fun and easy to make!
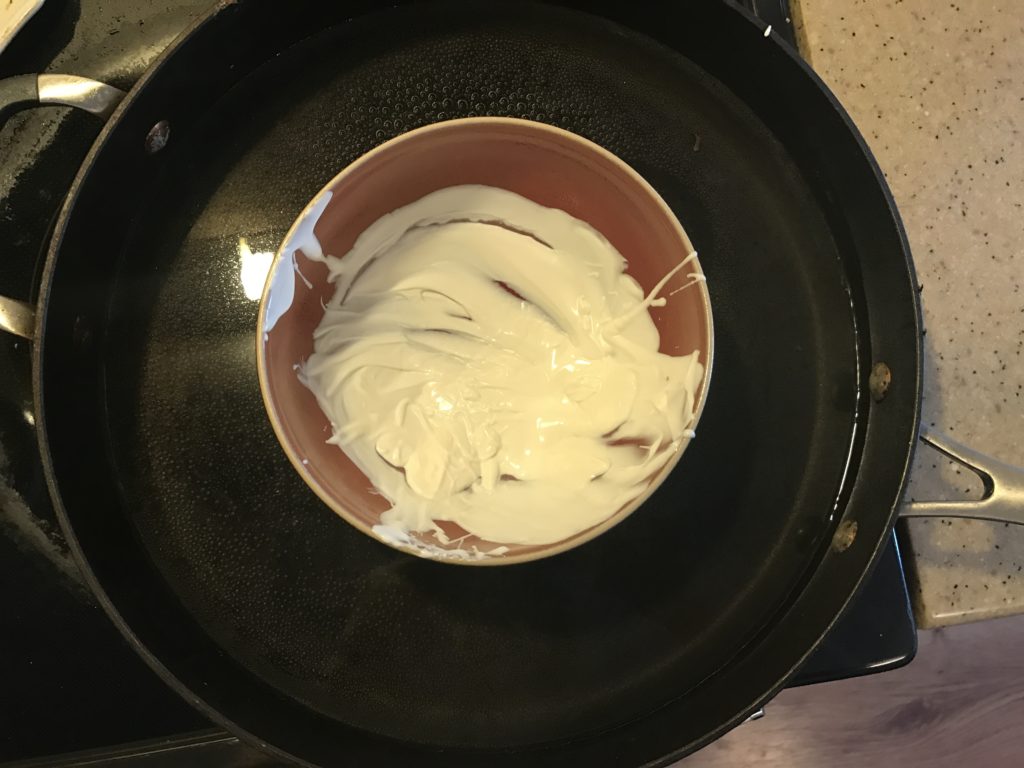
I made the lollipop part by melting white chocolate melts in a water bath over the stove. So basically bring the water to a simmer in a big skillet pan and then lower to low heat. Place a bowl with your white chocolate melts in the skillet and stir melts gently until melted. You could also melt them in the microwave or in a double boiler situation but I really love this method as it keeps the melts melted for a LONG time and you can just add more melts when you are low/done and remelt again! Just make sure the water does not get in the bowl with the white chocolate melts or it will change the consistency of the chocolate (and not in a good way!).
After the melts melted I placed a lollipop stick in the cavity of each lollipop mold and spooned in the white chocolate (approximately 2 spoonfuls filled each heart cavity). If any chocolate gets on the sides just use a wet paper towel to wipe off.
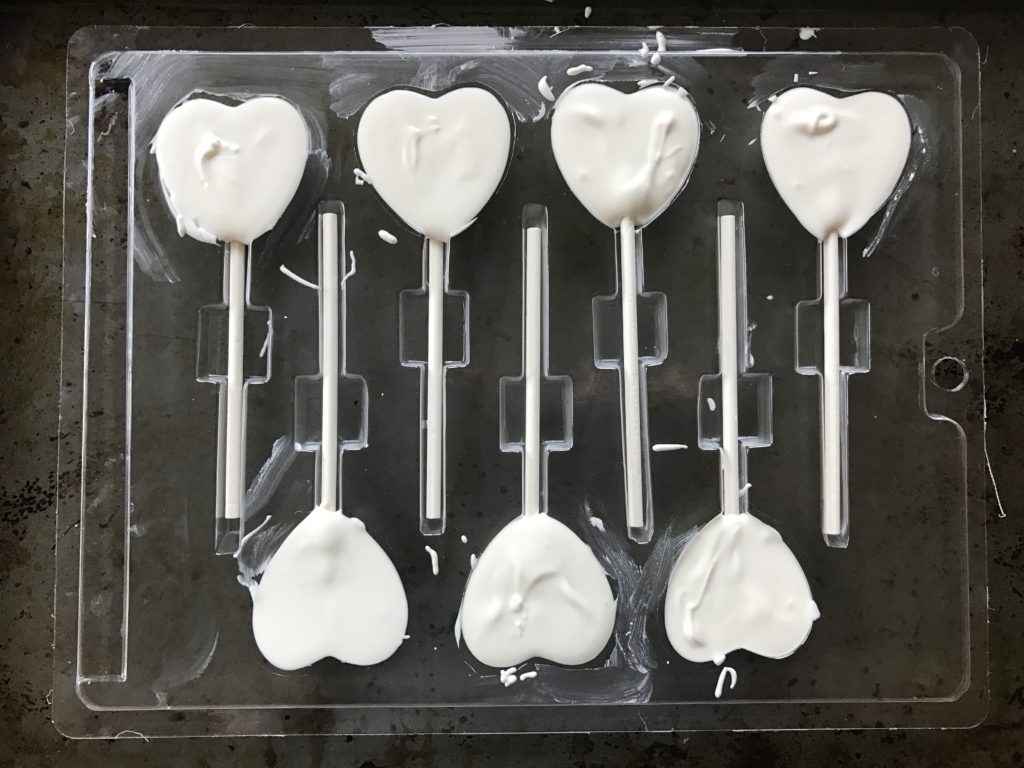
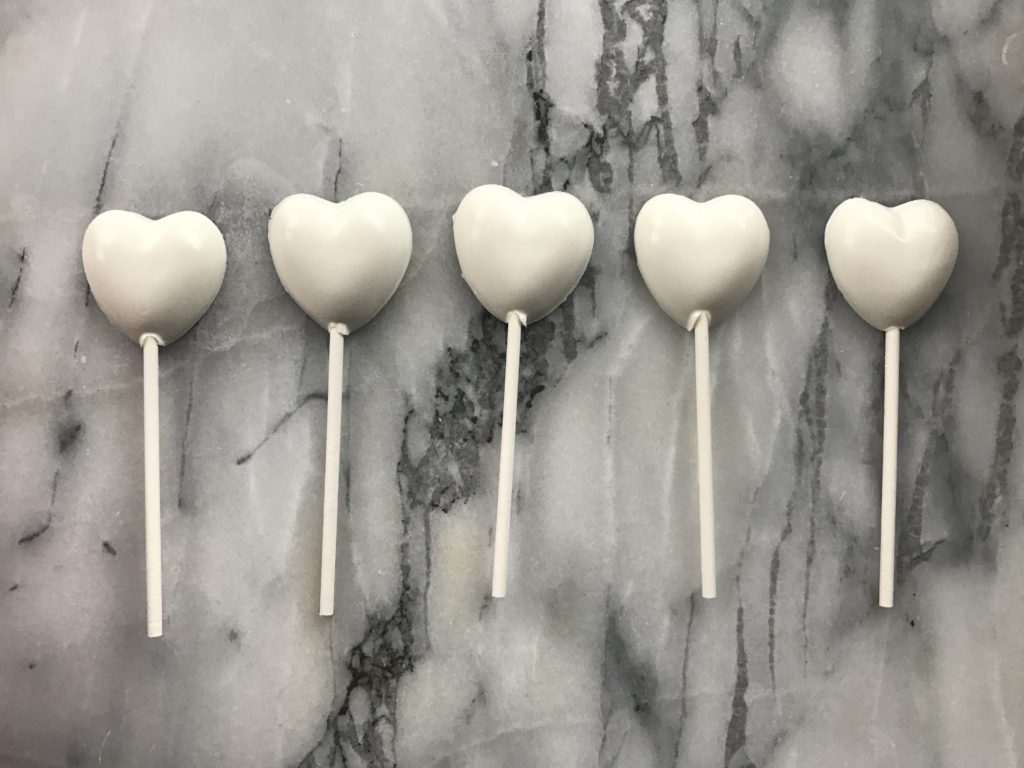
I then stuck the white chocolate lollipops in the freezer for 30 minutes and popped them out at the end and made another batch. While you don’t have to stick the lollipops in the freezer it definitely speeds up the drying process! And while they were drying I just did other things…you can also keep the water/chocolate on the stove during this time if you are near by and they will be fine!
I made 5 batches of lollipops with 1 3/4 bags of white chocolate melts (I probably could have made 6 batches but I had made 35 lollipops and made more than enough so I stopped there.
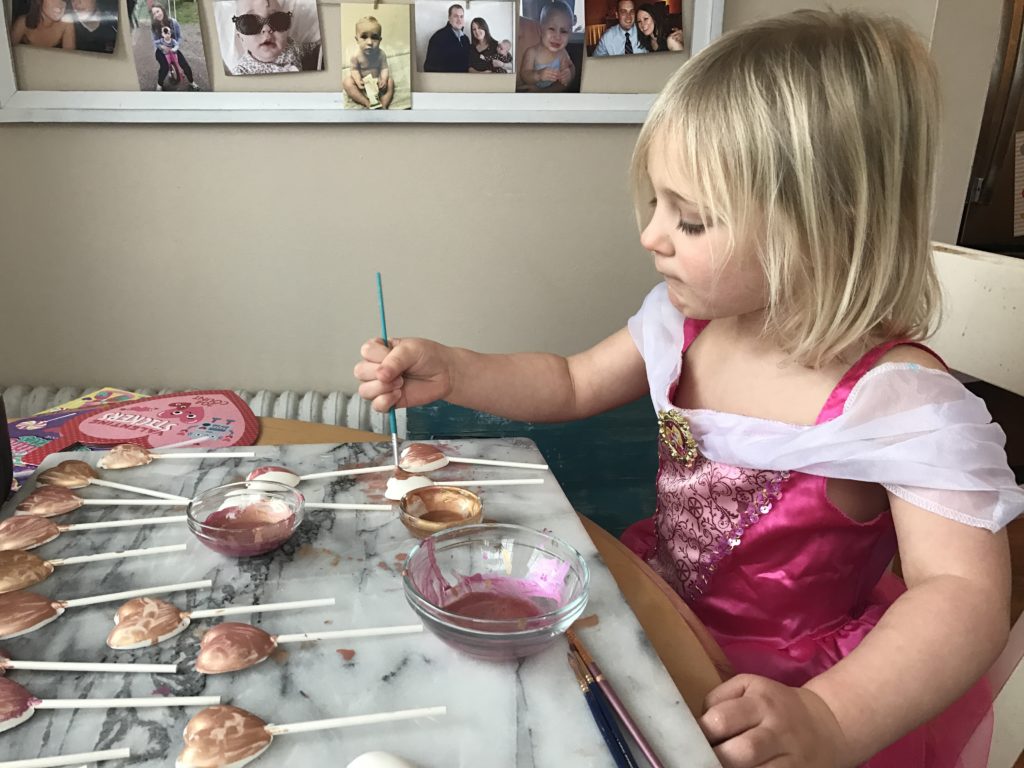
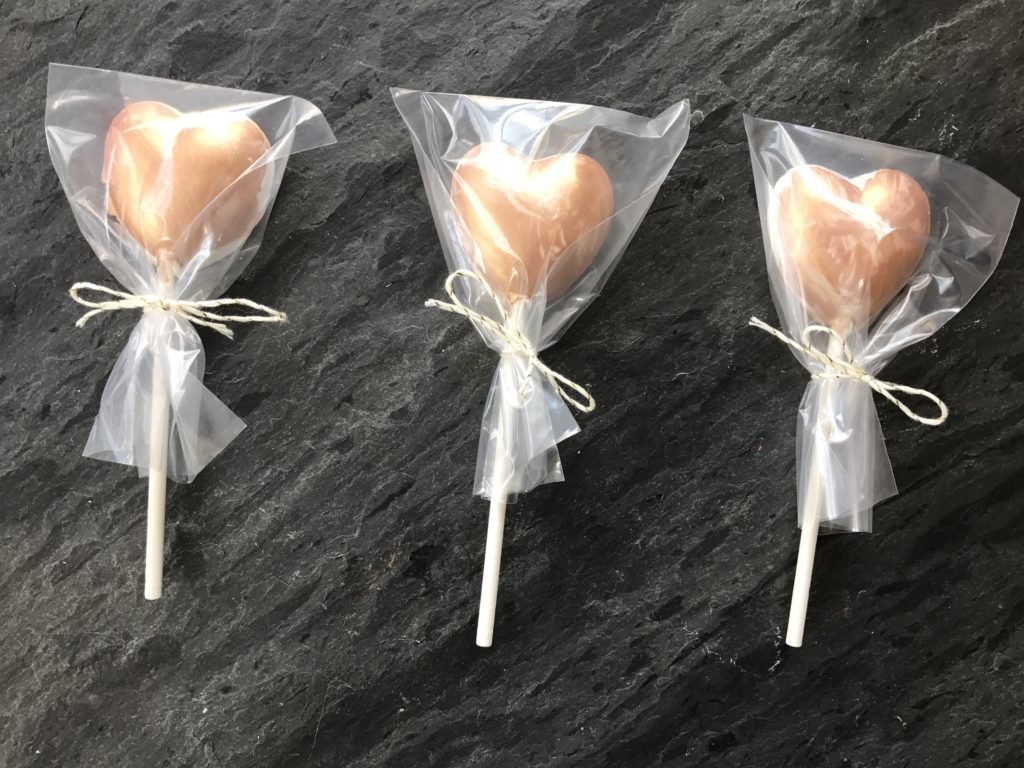
The next day Emma and I decorated the lollipops with edible luster dust. This was so fun. Basically I took a pinch of luster dust and a tad of orange extract (unfortunately or maybe fortunately there is no exact measurements for this) to create a liquid paint consistency. If you don’t get the consistency you want just add a little more extract if you want it to be more liquidy or if too liquidy just add a little more luster dust!
You could also use lemon extract which has a high alcohol content as well but I thought the kiddos would like the orange flavor the best. Another option would be to use a clear alcohol like vodka instead of extract but considering these were for kids I did not feel comfortable doing that even though the alcohol itself evaporates.
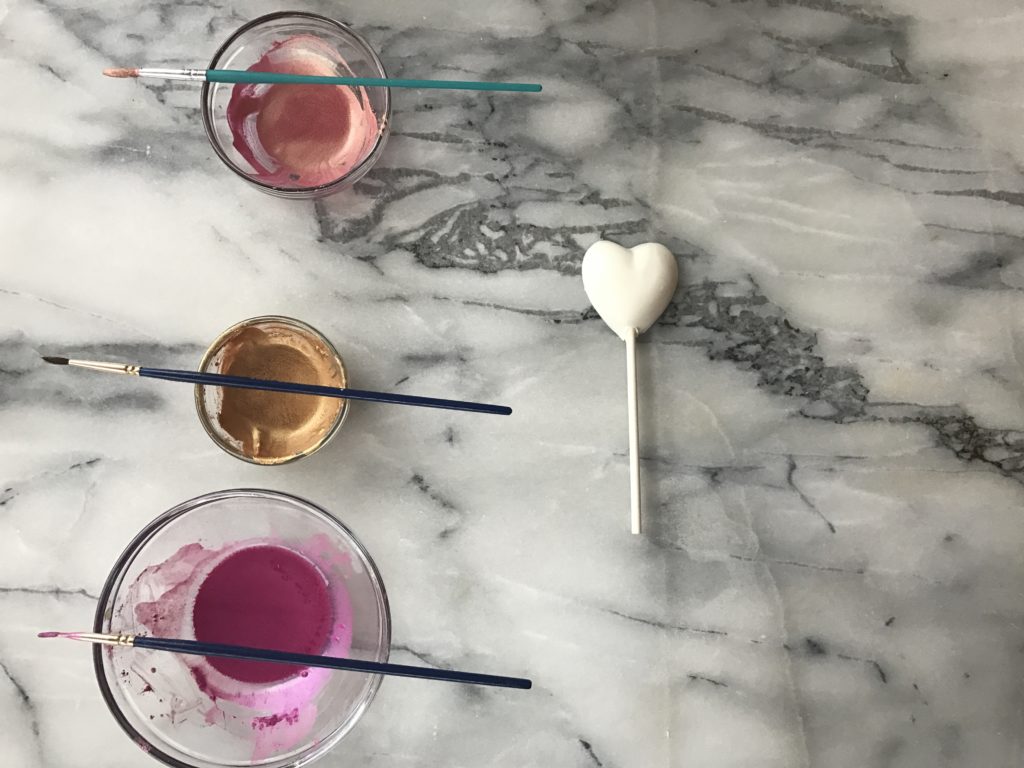
Then get your paintbrushes out and let the decorating begin! (I have specific brushes for painting for baking purposes…you can find baking brushes on Amazon or at a local baking store!).
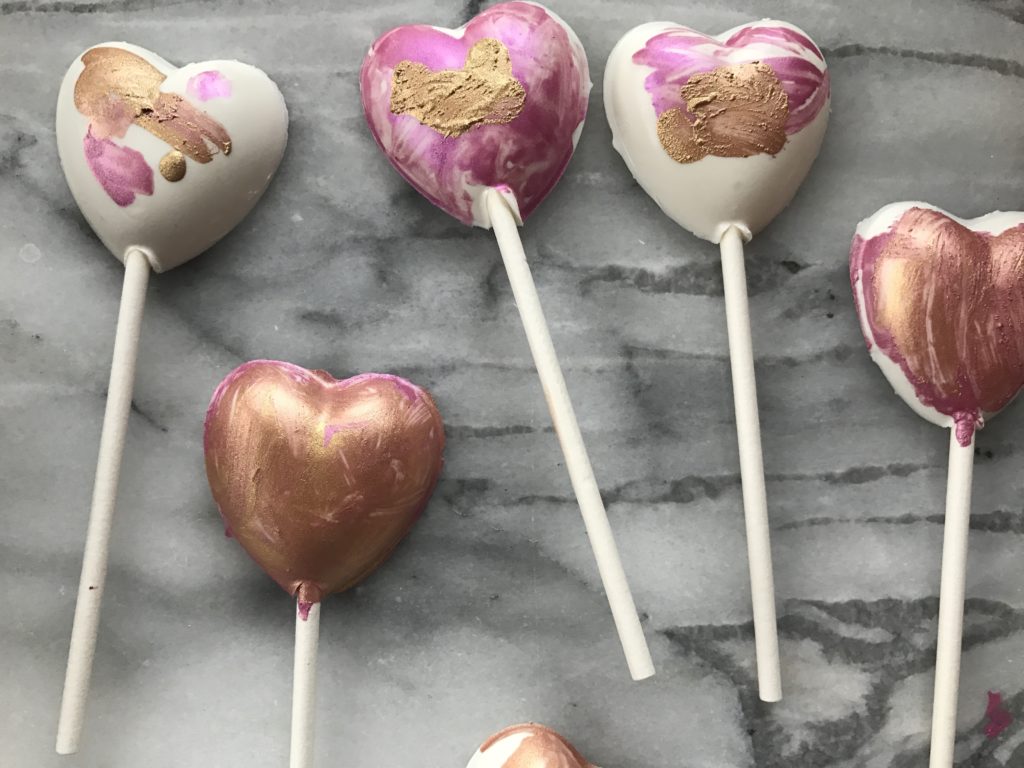
These were some of my favorites that Emma made….
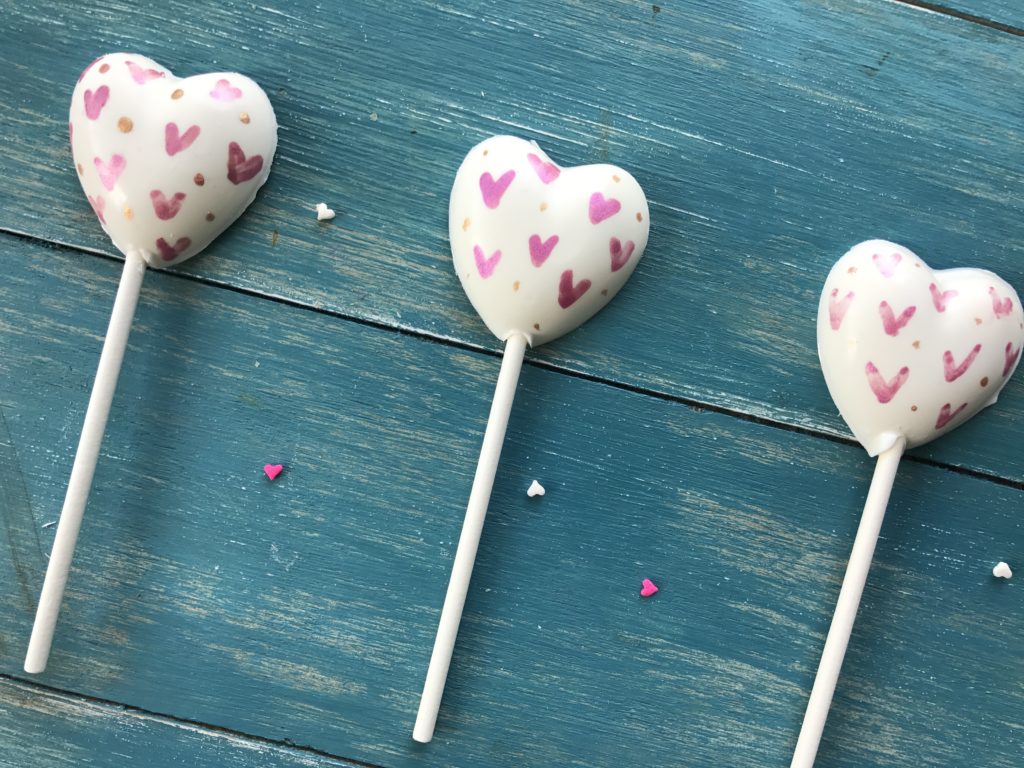
I then let the lollipops dry for 24 hours and packaged them up with small lollipop bags and gold and cream bakers twine. (I also attached her Valentines which I will share with you on Valentines Day!). I LOVE how they came out!
And of course I couldn’t miss out on the fun too…
Happy Painting!


- 2 bags of bright white chocolate melts
- 42 lollipop sticks (4 inches)
- heart lollipop mold
- luster dust
- orange or lemon extract
- 1. Melt chocolate - take a skillet and fill with water, bring to a simmer then lower to low heat. Place chocolate melts in a dry bowl and then place in the skillet bath. Make sure they do not get wet. Stir over low heat until melted.
- 2. Put 1 lollipop stick in each lollipop cavity and fill with approximately 2 spoonfuls of melted chocolate.
- 3. Place mold in freezer for 30 minutes or until hardened.
- 4. Remove lollipops and repeat until you have the number of lollipops you need.
- 5. Mix the luster dust paint...add a pinch of luster dust and a drop or two of extract in a tiny bowl and mix.
- 6. Paint lollipops with the edible paint.
- 7. Let dry (I dried mine for 24 hours).
- 8. Bag or serve! Enjoy!
Lollipop Sticks, I got mine at Michael’s but similar ones are found here. I also purchased small lollipop bags at Michaels, you could also get a complete set of both lollipop sticks and bags on Amazon right here! Just be sure to get the 4 inch sticks if you are using the same mold I did, the 6 inch ones are too long.
Bright White Candy Melts -I also got this at Michael’s as I think they are a little cheaper there, but you can find them on Amazon as well right here!
Gold Luster Dust (I had this from a few years back (it lasts forever)!) but a similar one is found right here!
Baking Paintbrushes – I bought mine at NY Cake back when I loved in the city but you can buy a set from Wilton on Amazon.
Orange Extract – I bought mine at the grocery store

