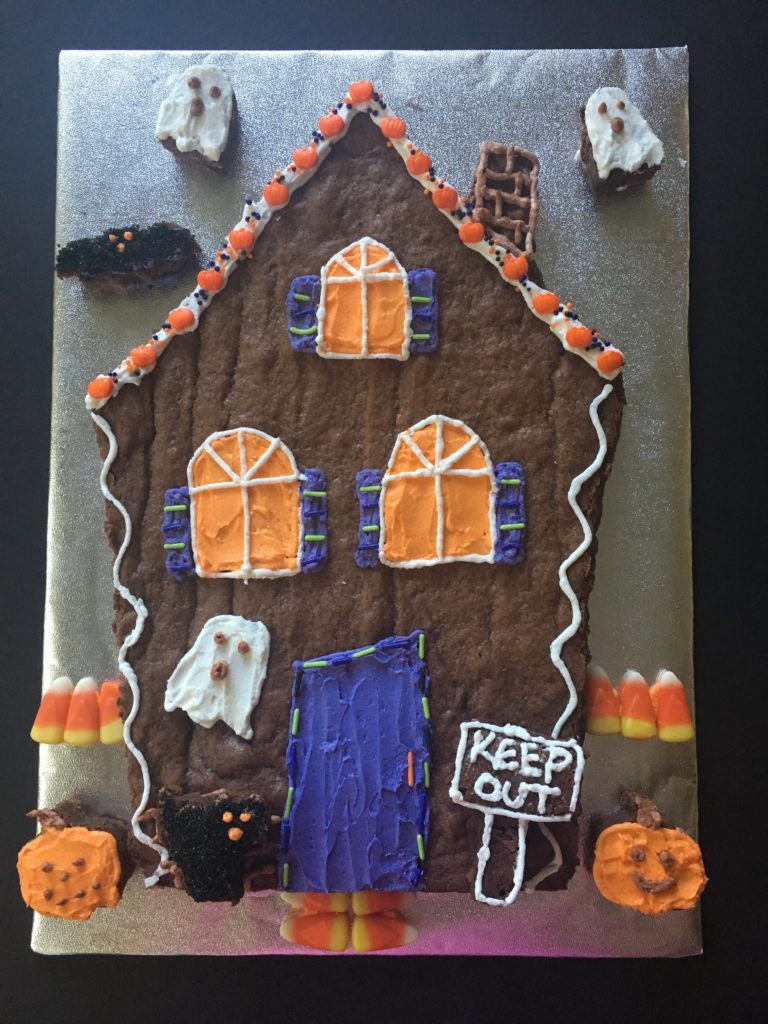
I can’t believe Halloween is just a little over a week away! Bring on the cute Halloween desserts!
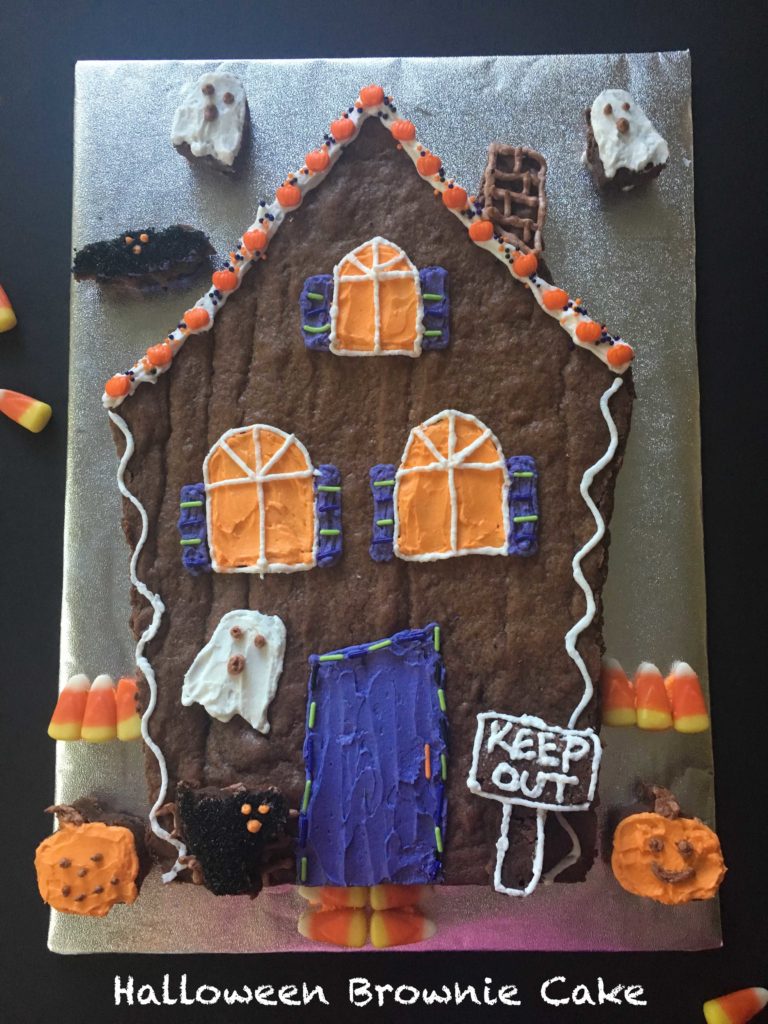
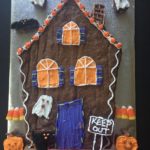
And that I did! I saw a Haunted House Brownie Cake on the Taste of Home Halloween 2016 cover last week and I knew that I had to make my own…so stinkin’ cute!
I had a lot of fun making this, probably too much fun if that is even a thing. I know I had been looking for a Halloween type gingerbread house with Emma, like the kind they sell at Christmas time but couldn’t find anything so I thought this would be a fun alternative. Granted I did this one all by myself I think I will be making another one with the Emster, because it was so fun to make…not to mention delicious to eat…I mean who can resist pumpkin and ghost shape brownies…I know I can’t!!
I used my favorite brownie recipe and my buttercream recipe for the frosting. But you could easily swap those out for your brownie recipe or a boxed brownie mix and some canned frosting to save you some time.
I also used a 10 x 14 inch cardboard cake board and cake board covering from Wilton (which I got at Michael’s but I also found it here on Amazon!). However, you could easily cut a piece of cardboard from a big box and cover it with aluminum foil and tape it in the back to save some money.
To make the Halloween Brownie Cake…first put a large sheet of aluminum foil in your brownie pan, so there is about 2 inches of overhang on either side (this will allow you to easily pull the brownies out of the pan once they have baked and cooled). Grease the aluminum foil (I use PAM spray) then make and bake your brownies accordingly. Allow them to cool.
During this time color your frosting your desired colors and insert into piping bags. I used 3 to 5 size tips. If you have no clue what this is you could just insert your dyed frosting into small sandwich size bags and snip a small hole at the bottom of one of the corners and it will work just the same. Set aside the frosting. Please note, I recommend making the frosting right before you make the house, if you plan on making or dying your frosting earlier in the day, make sure to seal it properly so it does not dry up.
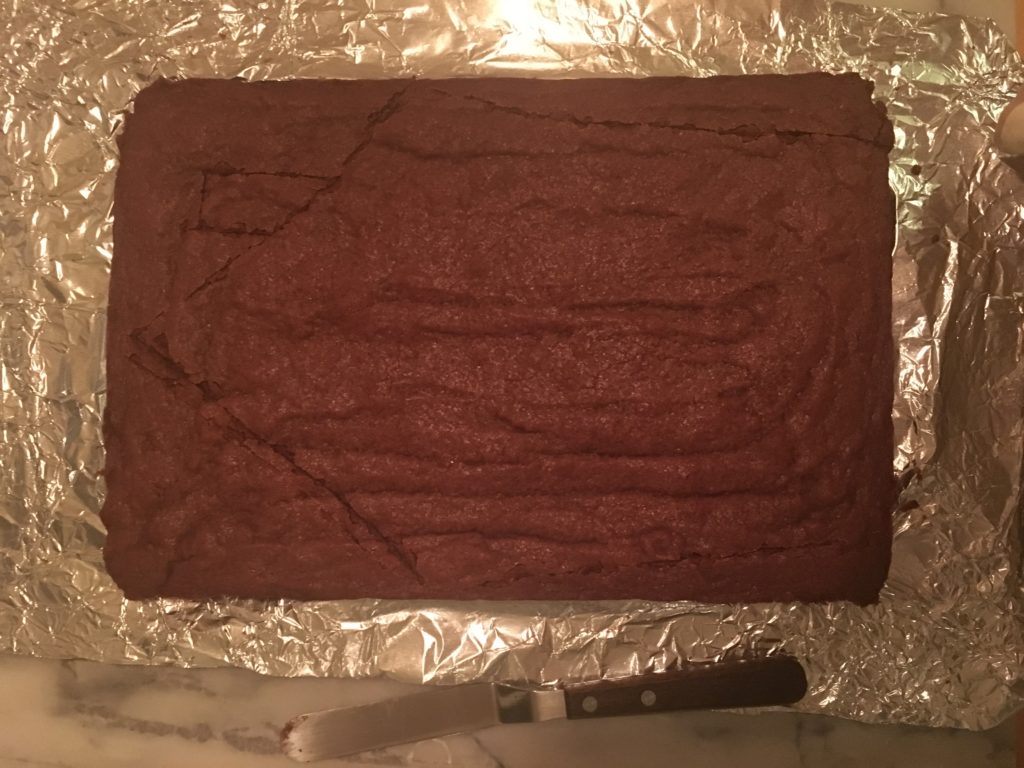
Once the brownie is cool and you have all the frosting dyed, draw your house lightly into the brownie cake with an offset spatula (if you do not have one, use a knife). Also please pardon all the pictures, I know they are a bit dark as I was taking them at 10pm!
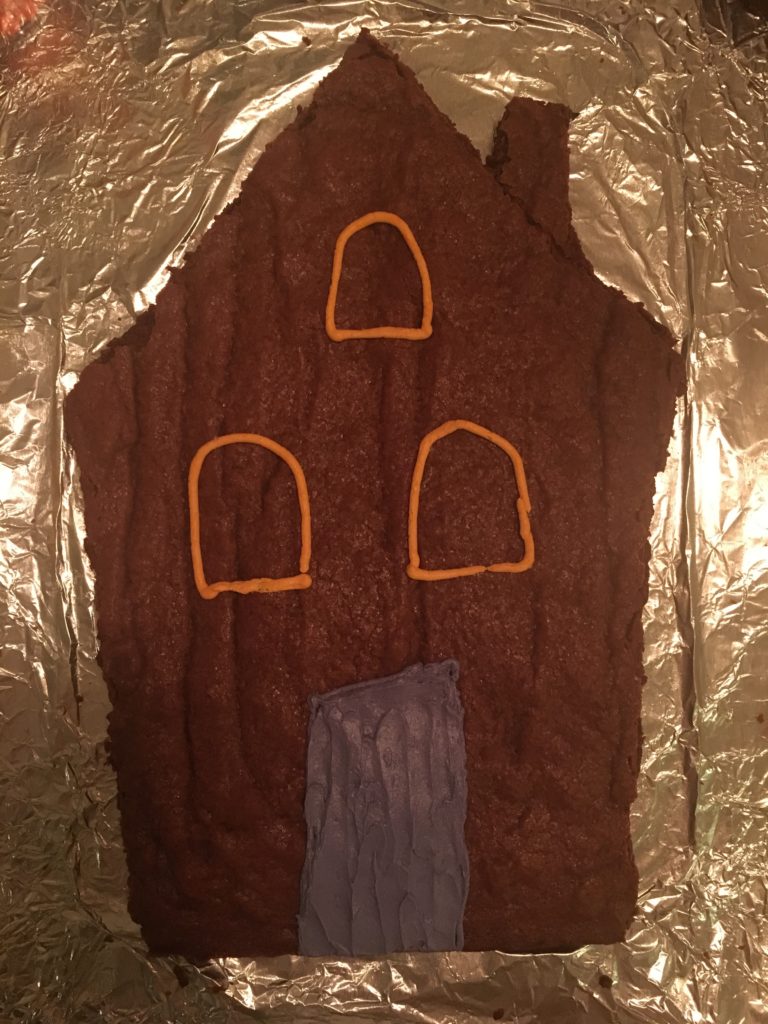
Once you have the shape that you like, use the offset spatula or knife and cut away the pieces that you do not want to be part of the house like so…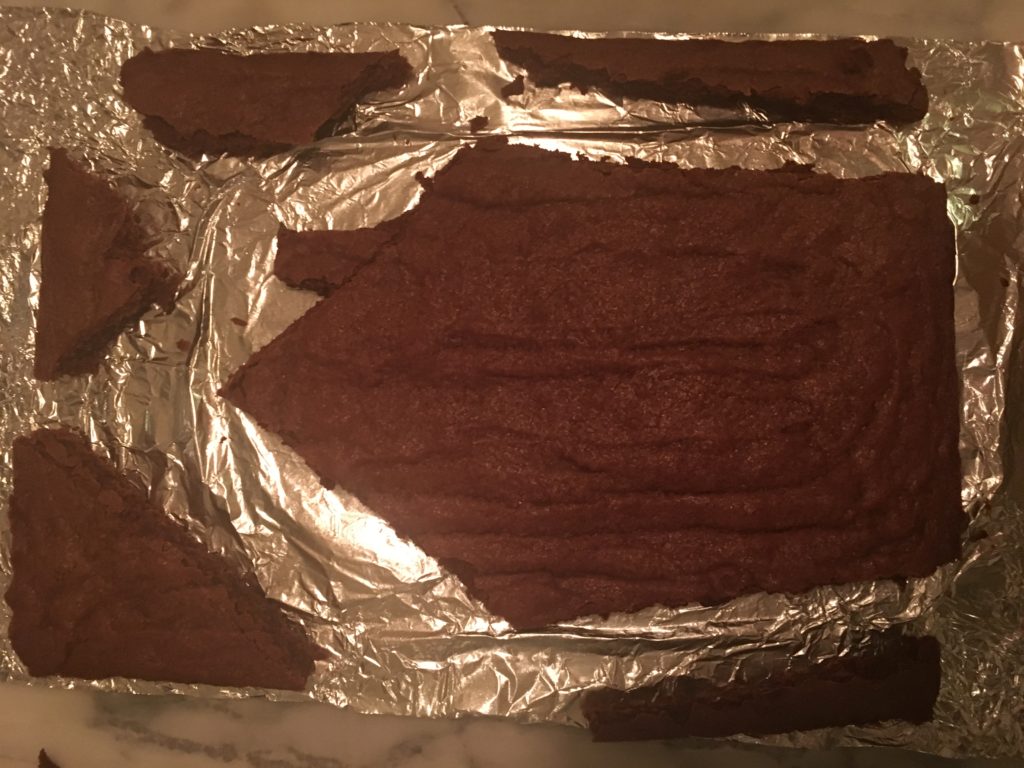
Then using your piping bags, draw outlines of your windows and door on your house (I already filled in my door in this picture…but you get the idea!).
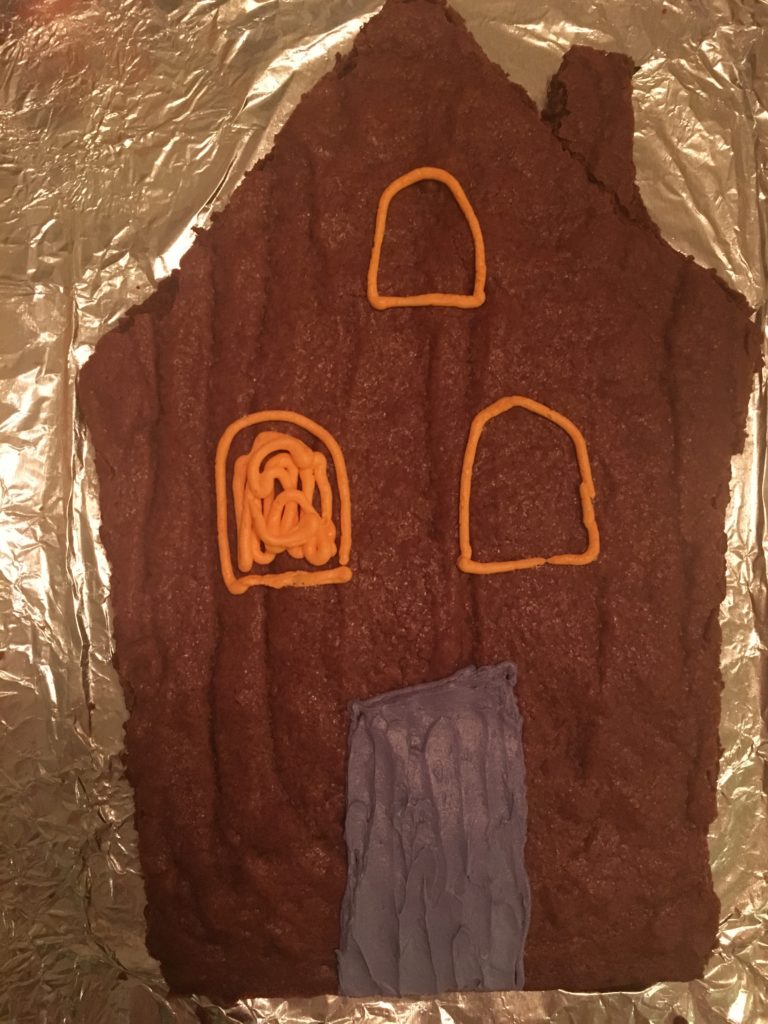
Then squeeze a bunch of frosting into the middle of each window…
And smooth with a knife or an offset spatula. If you are doing this with young kids, I recommend an offset spatula or a plastic knife. Depending on their age and skill level you could always add the doors and windows and then let them decorate with sprinkles and what not…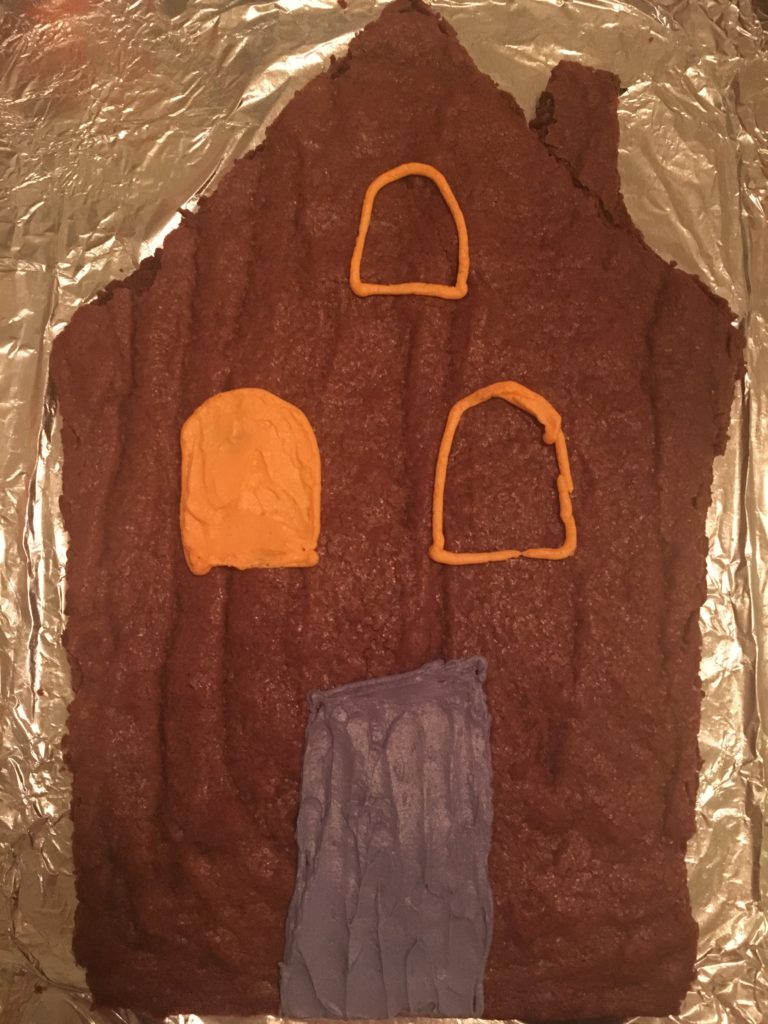
Voila! Your house is now ready to decorate!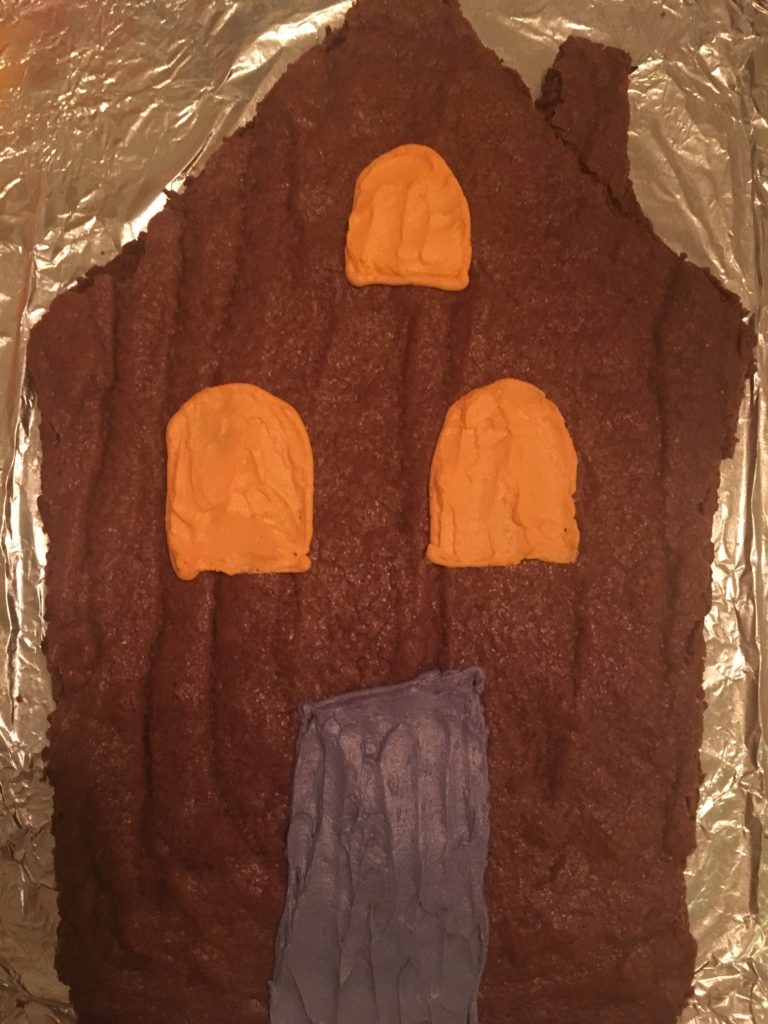
I added some white icing at the top of the house and covered with sprinkles. I then spruced up the windows with some panes and shutters. Next, I added some “bricks” to the chimney and piped aka drew with frosting a white ghost onto the house.
With the excess brownies that I had cut out I made 2 small ghosts, a bat, 2 tiny pumpkins and a keep out sign.
I added a few candy corns for some steps and a fence. But if you are doing this with little ones, candy corn, pumpkin candy and sprinkles will be your best friend so have a bit around in small bowls for them to use and decorate the house with.
I also “glued” the cut outs to the covered cake board and house with some frosting. And ta-da! It is a spook-tacular treat for any Halloween party or get together!
Happy decorating!!

- 4 oz of unsweetened chocolate, coarsely chopped
- 8 tablespoons (1 stick) of unsalted butter
- 2 cups of sugar ( 15 5/8 oz )
- 2 teaspoons vanilla
- 4 large eggs
- 1 cup of all-purpose flour (4 7/8 oz)
- Buttercream Icing (see my favorite recipe below or use canned frosting!)
- Sprinkles
- Gel Food Coloring (or regular food coloring from supermarket)
- Candy Corn
- Candy Corn pumpkins if desired!
- 1. Preheat oven to 350 degrees.
- 2. Line a 13x9-inch baking pan with greased aluminum foil, allowing the foil to overhang the 2 narrow ends of the pan by about 2 inches.
- 3. In a large saucepan over very low heat, melt chocolate and butter. Stirring instantly until the mixture is smooth.
- 4. Set aside the mixture to cool. Then stir in sugar and vanilla. Stir until well combined.
- 5. Next, add 4 eggs... one at a time, stirring until well combined.
- 6. Last, stir in flour until just combined.
- 7. Scrape the batter into the pan and spread to the edges.
- 8. Bake for approximately 20 minutes.
- 9. Allow brownies to cool in the pan on a baking rack.
- 10. Once cool, lift the brownies out of the pan carefully, using the aluminum foil as handles.
- 1. While the brownie is cooling, color your frosting with your desired colors and insert into piping bags or small sandwich bags that have a small hole at the bottom so you can squeeze out frosting onto the cake. Set aside.
- 2. Pull brownie out of pan and put on a flat surface.
- 3. Draw your house lightly onto the brownie cake with an offset spatula (or a knife).
- 4. Once you have the shape that you like, use the offset spatula or knife and cut away the pieces you do not want to be a part of the house like so. Also be somewhat careful with this step as you can use the leftover pieces to make mini pumpkins, bats, cats, ghosts, etc...so be mindful of the size of the piece you are cutting away.
- 5. Then using your piping or sandwich bags filled with frosting, outline your windows and door on your house. Then squeeze a bit of frosting into the center of each window and the door and smooth with a knife or offset spatula. If kids are doing this set, I recommend an offset spatula or a plastic knife.
- 6. Next, decorate accordingly with sprinkles, candy corn and other Halloween candies!
- 7. Use the leftover brownies and your mini Halloween cookie cutters to create shapes to adorn to your house or along side of it…think pumpkins, bats, etc! You can adhere these shapes to the brownie or cake board with a little bit of frosting on the bottom.
- 8. Ta-da! Admire and enjoy your decorating work! And maybe snap a picture:).
- 1/2 lb unsalted butter at room temperature
- 4 oz hi-ratio shortening
- 1.5 tablespoons of clear vanilla extract
- 1.5 pounds of confectioners’ sugar
- 2 1/4 fl oz water minus 3/4 tablespoon of water
- 1.5 tablespoons of meringue powder
- 1/2 teaspoon of salt
- 1. Cream the shortening and butter with a paddle-whip in the stand mixer for 3 minutes on medium-high speed. Stop and scrap the bowl.
- 2. Add the vanilla extract and salt. Mix until combined.
- 3. Gradually add the sugar.
- 4. Add the meringue powder (the mixture will seem very dry at this point…that is okay!).
- 5. Add the water and beat until the mixture is light and fluffy – 5 to 8 minutes.
- 6. Add frosting to the top of the cupcakes with an offset spatula.
10 x 14 inch cardboard cake board
mini Halloween cookie cutter set

