Happy (early) Turkey Day!!!
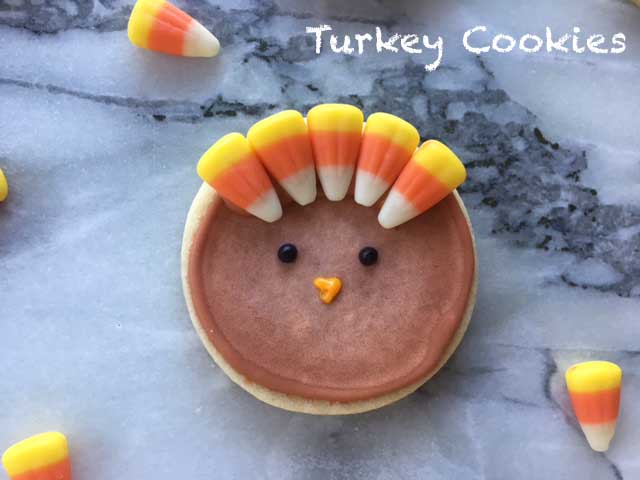
If you are in need of a Thanksgiving Day dessert…look no further! These cookies are extra cute and perfect for any Thanksgiving Day celebration if I do say myself! I made these cookies for my daughter’s Thanksgiving feast and am loving how they turned out…
I used my go-to sugar cookie and baked the cookies….

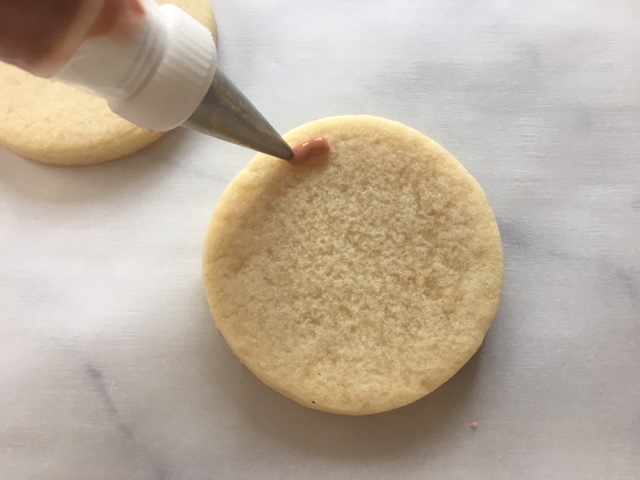
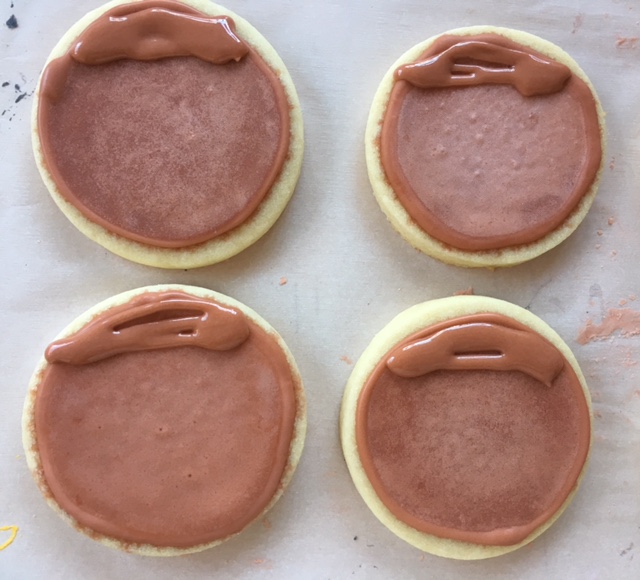
Then, I iced the “body” or “head” of the turkey with brown Americolor food gel paste. First piping the icing to create an outline or circle…
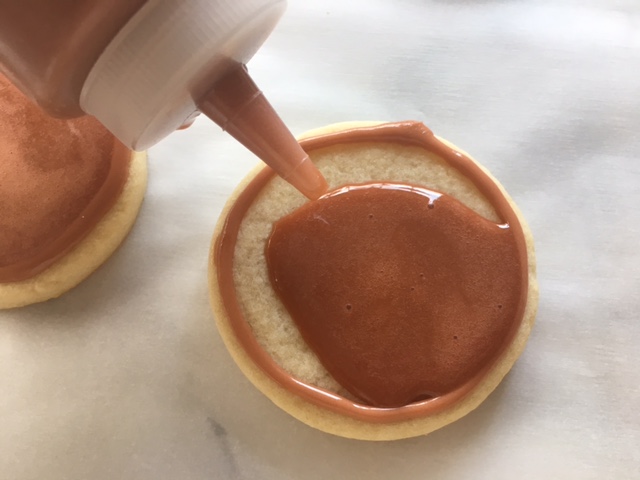
Next, I filled in the circle with my brown “flooding” icing…
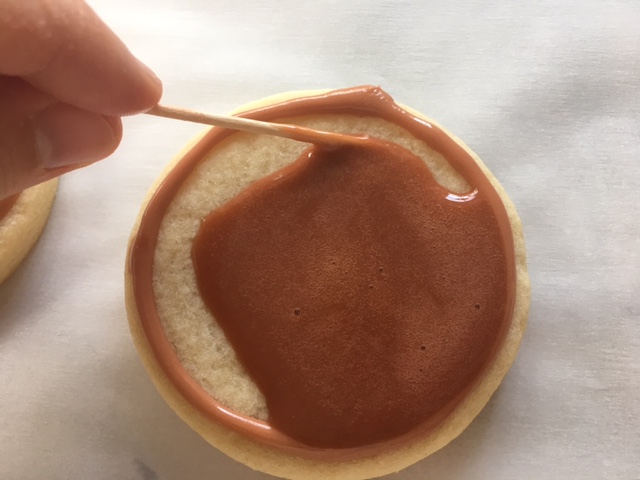
And filled in the circle by gently spreading the icing with a toothpick….
Voila!
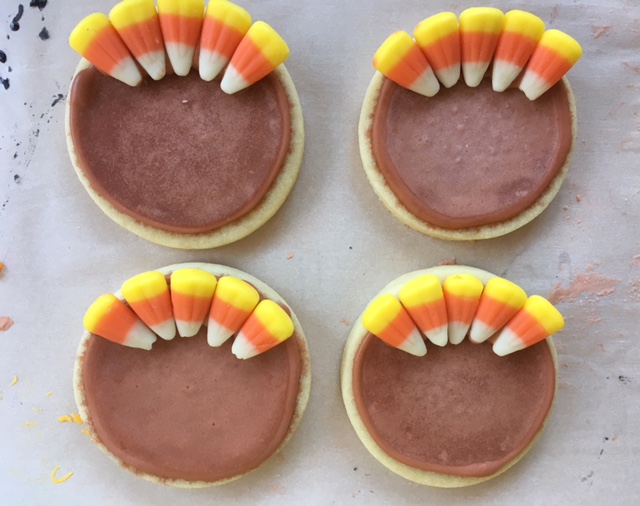
I then let the icing dry overnight. The next day I used my brown piped icing to attach 5 candy corn to each turkey.
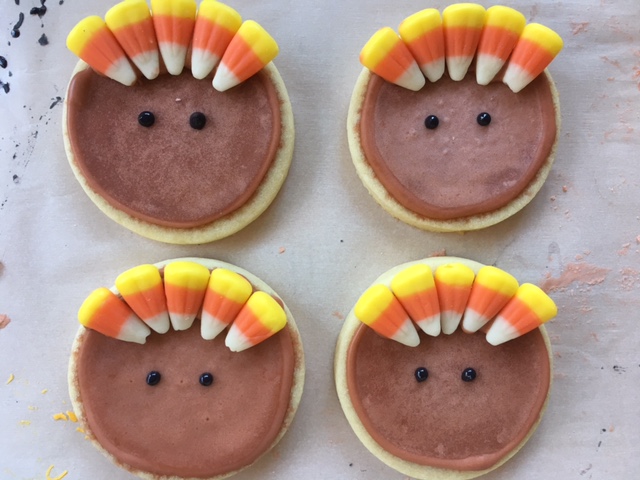
Then I used the black icing to make two eyes….
And the yellow piped icing to make tiny beaks…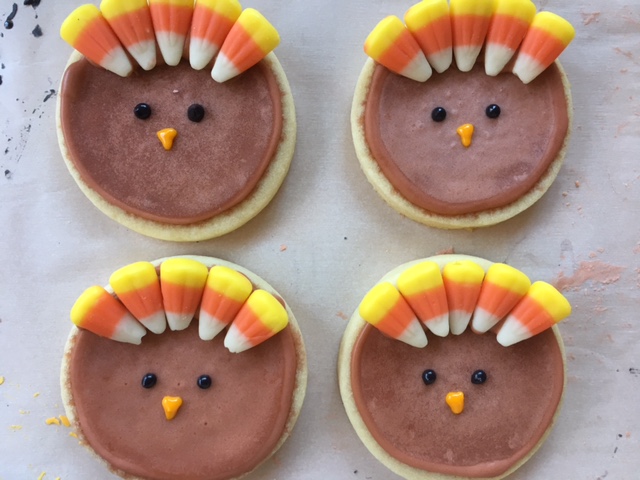
And there you have it…cute little turkeys!
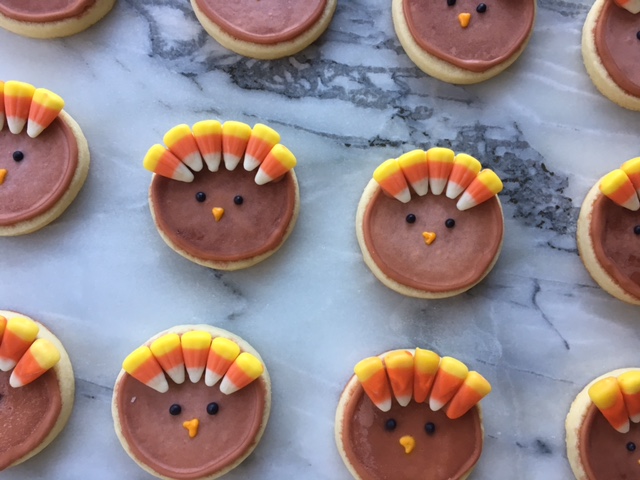
I let the finished cookies dry overnight just to make sure everything was dry before I delivered them to my daughter’s school this morning. If you make these I definitely recommend waiting 48 hours (if not 72 hours) after icing the body or head of the turkeys before stacking or packing them in a clear plastic bag. Just so your decorating work does not get smashed:).
Enjoy! Have a wonderful Thanksgiving! Gobble gobble:).
Lauren


- 3 cups all-purpose flour (15 1/8 oz )
- ½ teaspoon salt
- 1 cup (2 sticks) unsalted butter, softened
- 1 cup sugar (7 ¾ oz)
- 1 large egg
- 2 teaspoons vanilla
- Making the dough!
- 1. Whisk together the flour and salt in a medium bowl and set aside.
- 2. Using your mixer (with the paddle attachment), cream together the butter and sugar
- until the mixture is light and fluffy. Add the egg and vanilla and mix until well blended.
- 3. With the mixture on low, gradually add the flour mixture to the butter mixture until
- the two are thoroughly blended.
- 4. Turn out the dough onto the work surface and divide it into two or three equal portions. Form each one into a rough disk. Now you are ready to roll, chill and cut out the cookie sheets.
- **Before I roll out the cookie sheets, I like to put the dough disks plastic wrap in the fridge overnight, as I like to break up my baking steps. You can make the dough up to 3 days in advance OR you can freeze the dough in flattened disks for up to two months. Although, make sure to thaw the frozen dough overnight in the fridge.**
- Rolling out the dough and baking the cookies!
- 5. Preheat oven to 350 when ready to roll out the dough.
- 6. Then, place a cookie-sheet-sized of wax paper or parchment on your rolling surface, place
- the dough disk in the middle, then place another cookie-sheet size of wax paper on top.
- 7. Place ¼ inch cookie slats on the edges of the paper (I just use two (clean) paint stirrers that are taped together and use that as my cookie slats) and use a rolling pin to slightly flatten the dough across the paper.
- 8. Slide the rolled out piece of dough (paper and all) into a cookie sheet and refrigerate it until it’s firm (approximately 20 to 30 minutes). Repeat with other dough disks.
- 9. When the dough is firm, remove it from the fridge and put it on a flat work surface. Cut out the cookie dough shapes with your desired cookie cutter. For me, I used circles this time. Then, using a small offset spatula, carefully move cut out cookie to a cookie sheet covered in parchment paper.
- 10. Bake sugar cookies between 6 and 9 minutes, for this cookie I baked each cookie for 8 minutes.
- 11. Transfer the cookie sheet to a baking rack. Let cool for 5 to 10 minutes.
- 12. Then transfer individual cookies to another baking rack to cool.
- If you are not ready to ice the cookies right away, you can freeze them until you are ready to ice them. I made my cookies a few days in advance and then took them out of the freezer when I was ready to decorate them.


- For piping-
- 2 cups or 8 5/8
- oz of confectioners sugar
- 4 teaspoons of meringue powder
- 3 tablespoons warm water
- 1 teaspoon of vanilla
- For flooding-
- 2 cups ( 8 5/8 oz) confectioners sugar
- 4 teaspoons
- meringue powder
- 6 tablespoons warm water
- 1 teaspoon vanilla extract
- 1. To make the royal icing for piping, combine all ingredients in a bowl. Mix ingredients with a spatula. Divide up piping icing into different Tupperware containers based on how many colors you need (make sure to cover with lids so the icing doesn’t dry up).
- For they turkeys, I divided up the icing three ways....brown for the face/bodies, black for the eyes and yellow for the beaks. Most of the icing went towards the brown and I just saved a little for the eyes and beak.
- 2. Place a drop or two of food coloring in each container, mix with
- spatula. If you would like a darker shade, add another drop or two until you reach the desired shade. Cover container.
- 3. To make the royal icing for flooding, combine all ingredients in a bowl. Mix ingredients with a spatula. Again, divide up the icing in Tupperware containers based up on the number of colors you need. Use food coloring to achieve desired colors. For this recipe I only needed brown flooding icing.
- 4. After you colored your icing, pour the brown flooding icing into a squeeze bottles, and put
- piping icing into pastry bags with coupler and desired pastry tip. I used a size 2 pastry tip to pipe the icing along the edge of my sugar cookie and a size 2 for the eyes and beak.
- 5. Pipe and flood your cookies with the brown icing. Let the cookies dry overnight. The icing will keep in an airtight container so make sure to store it that way!
- 6. Then using the brown piping icing, adhere the candy corn to the turkeys.
- 7. Pipe on the eyes and beak.
- 8. Then let the cookies dry for 24 hours before you stack/put cookies in decorative baggies/boxes.
- 9. Enjoy your beautiful cookies!


