I try and do at least one seasonal craft a week with Emma. Now that she is in school and not home all the time it has been a littler harder but it is worth it and these sun catchers were a big win. I LOVE them and they were so fun to make.
I got the idea on Pinterest last winter when I saw these heart sun catchers and instantly knew that we would need to make a fall version for our house as well as they were so beautiful and like I mentioned before…fun to make!
First, draw a leaf onto a coffee filter freehand or find a pattern online and trace onto the filter. Then, once your leaf is drawn onto the coffee filter stick around 7 to 10 blank coffee filters behind it and cut out your leaf (this is to save time…you could cut out one leaf at a time but if you can cut out more at once…why not?!) While I used just one leaf pattern, I think it would be really nice to make a couple different kinds of leaves too.
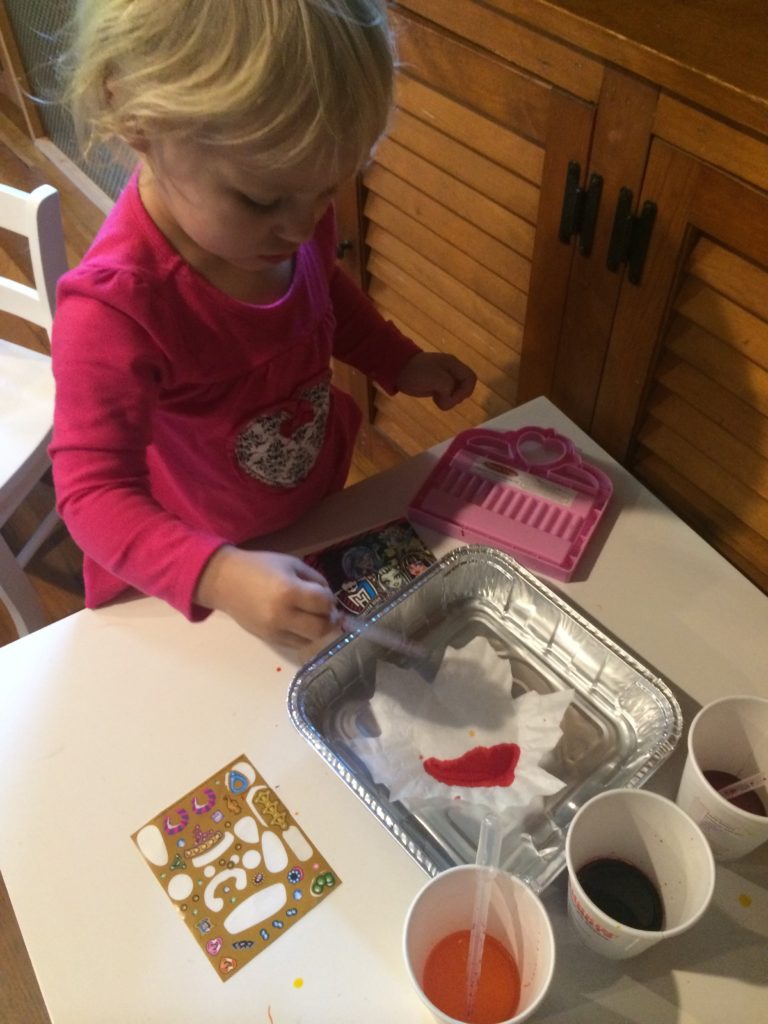
Next, fill small cups (I used plastic) with a little bit of the liquid watercolors. I used orange, yellow and red (so 3 cups). If working with toddlers and little ones I recommend cutting the leaves yourself ahead of time and setting up the paint before you call them over.
Then, it is craft time! Put one leaf at a time in a small aluminum baking dish and squeeze the liquid watercolors onto the leaves, watching how the dye spreads throughout the leaf.
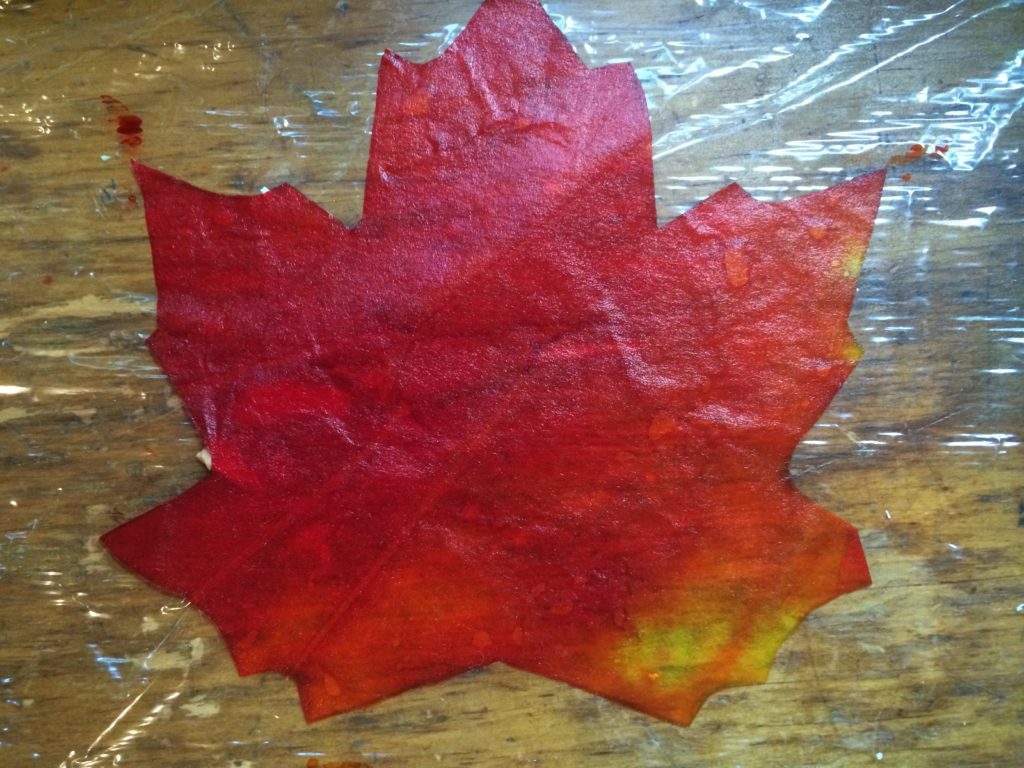
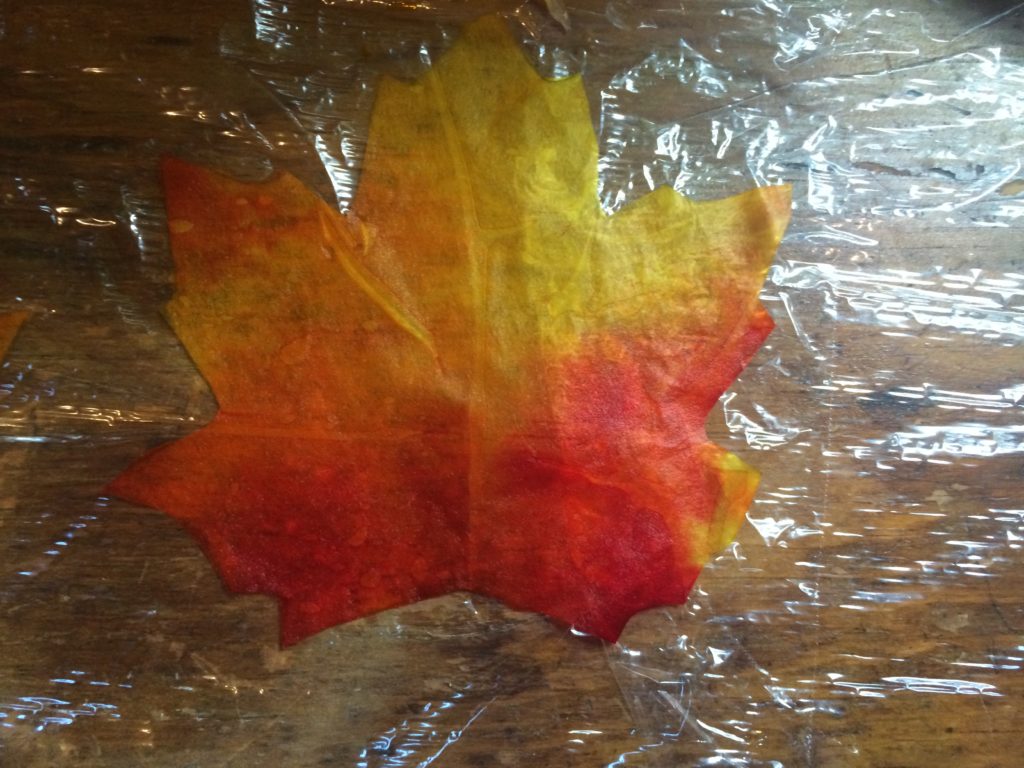
When done with each leaf, let them dry on a piece of cling wrap.
Repeat and do as many as your heart desires! So fun!
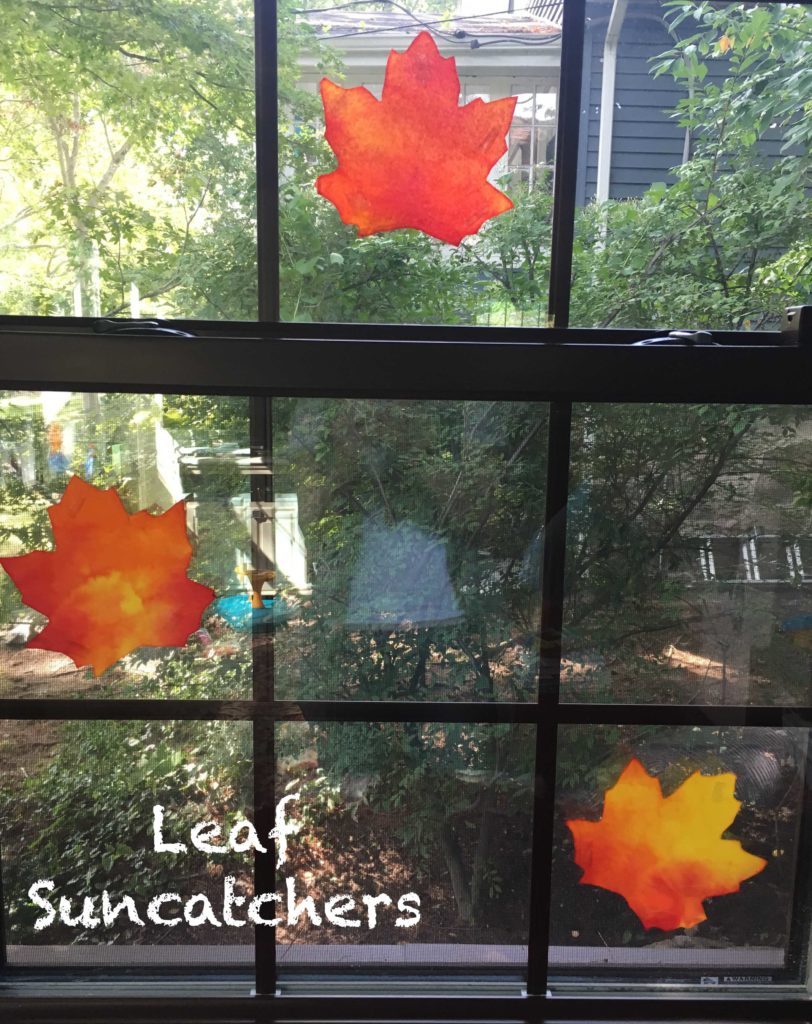
Once the leaves are dry you can hang on your windows with little pieces of scotch tape. Please note, if you are careful when taking them down at the end of the season they save nicely for the following year.
The results are stunning if I do say so myself!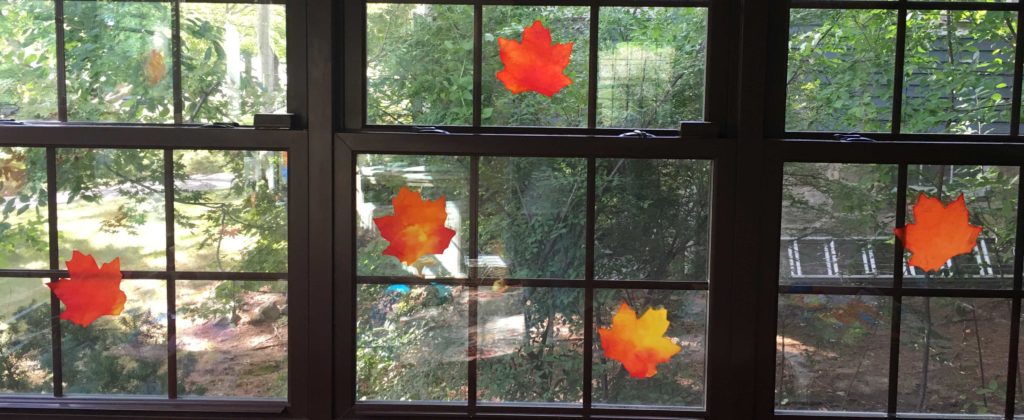
Leaf Sun Catchers
Materials Needed:
aluminum baking dish
scissors
pencil/pen/marker to trace your leaf
cling wrap
tape (to tape leaves onto windows)
Directions:
- Draw a picture of a leaf onto a coffee filter, using that as a pattern, stick around 7 to 10 blank coffee filters behind it and cut out your leaf.
- Next, fill small cups (I used plastic) with a little bit of the liquid watercolors. I used orange, yellow and red (so 3 cups). If working with toddlers and little ones I recommend cutting the leaves yourself ahead of time and setting up the paint before you call them over.
- Then, put one leaf at a time in a small aluminum baking dish and squeeze the liquid watercolors onto the leaves, watching how the dye spreads throughout the leaf.
- When done with each leaf, let them dry on a piece of cling wrap.
- Once the leaves are dry you can hang on your windows with little pieces of scotch tape.
Note: If you are careful when taking them down at the end of the season they save nicely for the following year!

