Easter is almost here!! Woo-hoo!
While the Irish part of me is kinda sad that Easter is slightly overstepping St Patty’s Day this year by being super early I love all the cute bunnies and chickies that come with Easter I will give it a pass this time:).
And of course you better believe we are getting our bunny on in this household…we LOVE bunnies..especially Emma (bunny birthday party anyone?!).
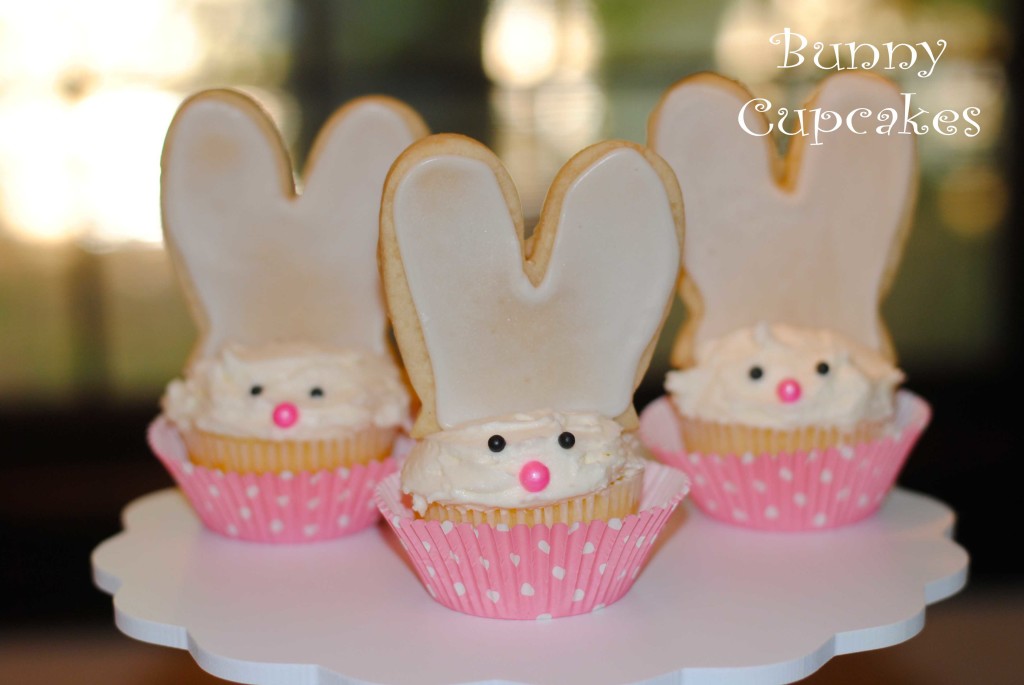
And what better way to celebrate the Easter season than cute bunny cupcakes…they are a perfect treat for Easter Day or any Easter celebrations you may be having.
I actually made these cupcakes for Emma’s birthday party in August but I figured people would be more likely to be all about bunny cupcakes at Easter-time so I saved these babies until now:).
To make these cupcakes and cookie pops I used my favorite cupcake and frosting recipe as well as my sugar cookie and royal icing recipe but feel free to use your own or use store bought cupcakes to make things easier.
Sooo…on to the fun part! To make these cuties you first make your cupcakes. I made these ahead of time and then froze them (I did not ice them yet).
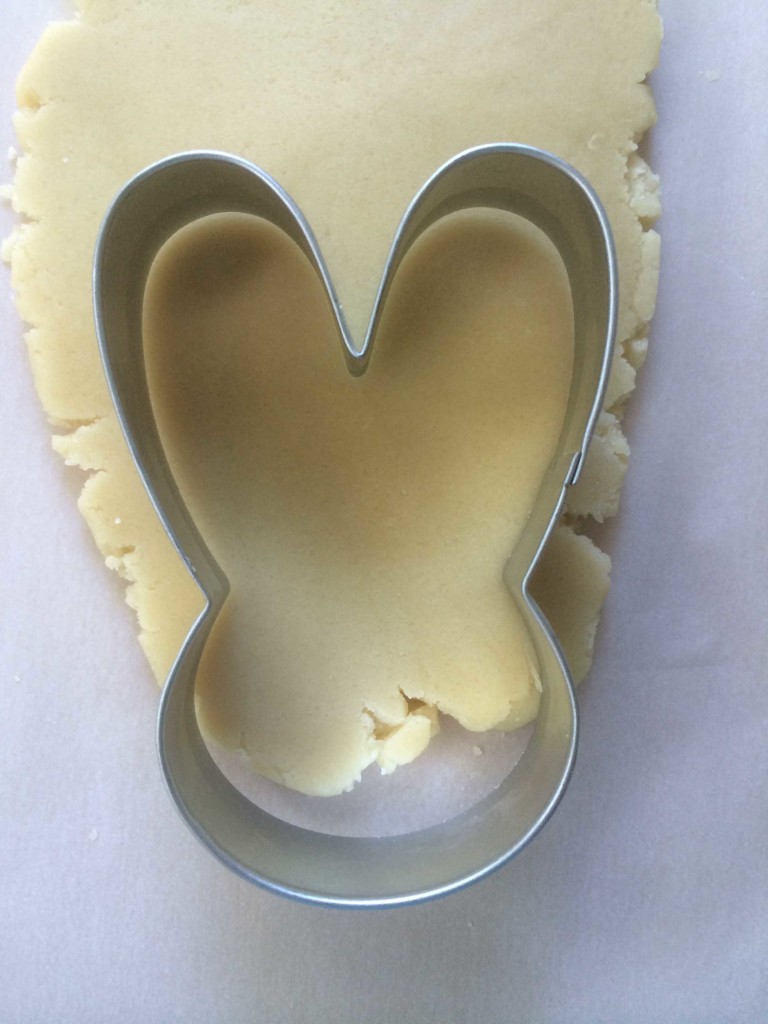
Then about a week before the party I made my sugar cookies using the sugar cookie recipe below. Once the sugar cookie dough was rolled out I took the top of the cookie cutter and cut into the dough:
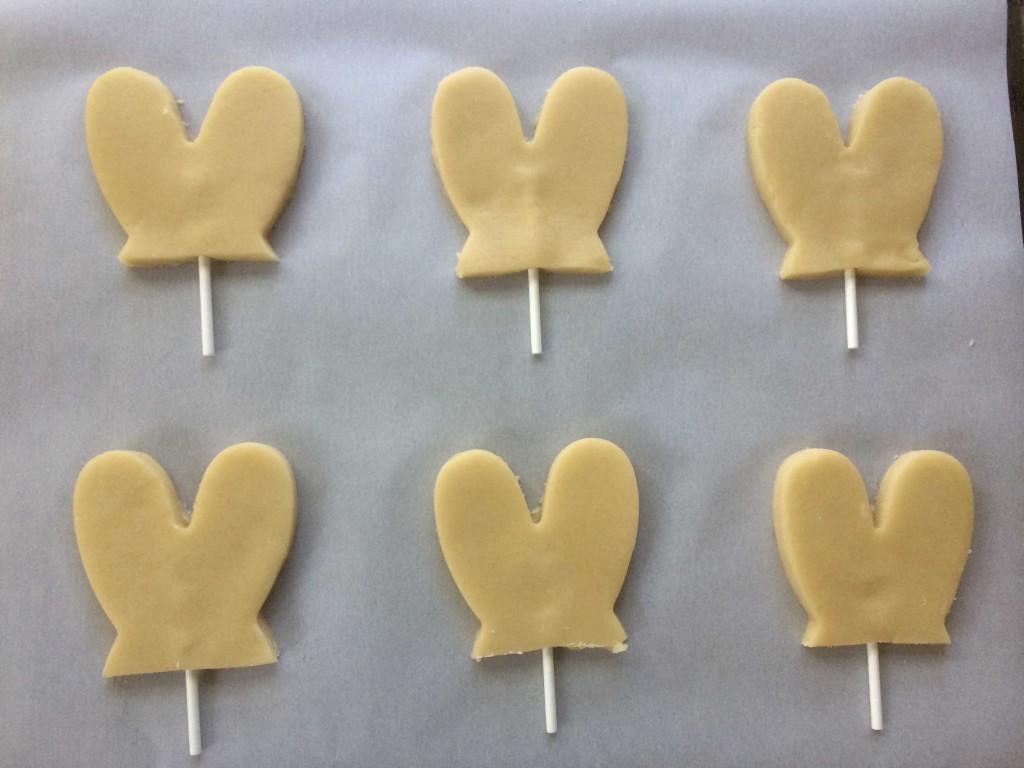
Then, once the ears were cut out I made a nice straight line through the bottom of the ears with my offset spatula: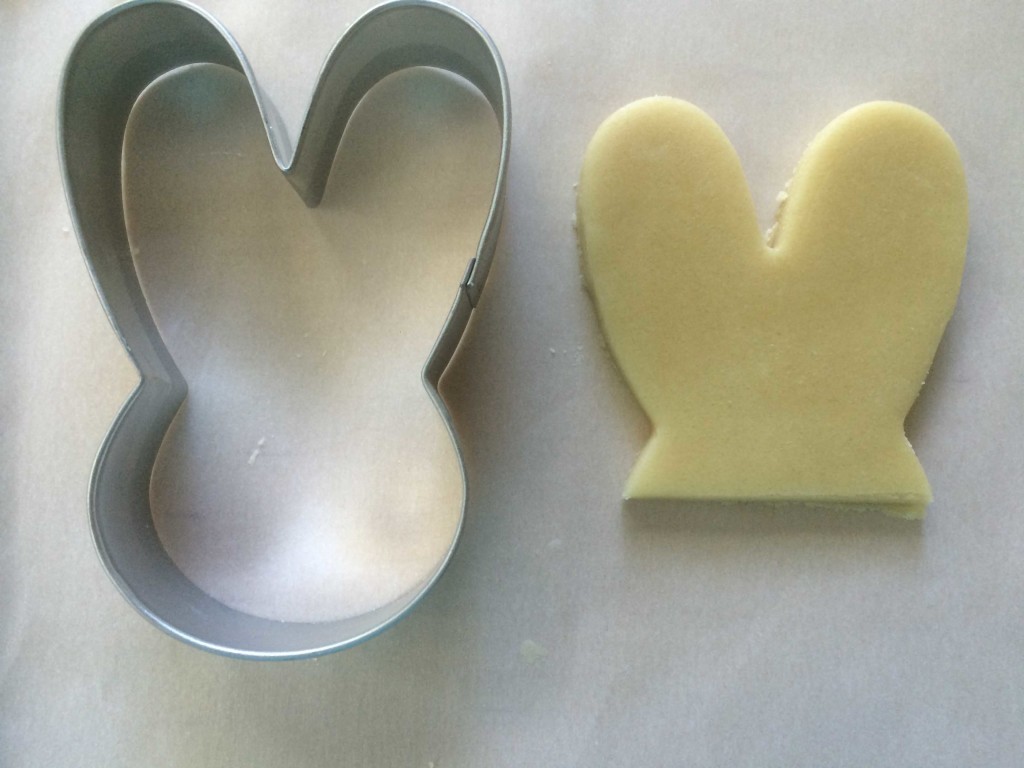 Next comes the trickiest part…I took a popsicle stick and laid down the bunny ears on top of each popsicle stick and gently pressed down to make sure the popsicle stick did not come through the cookie. I then put a little sugar cookie dough on the back of each cookie pop to make sure the popsicle stick was secure.
I then baked each cookie for approximately 8 to 9 minutes. And then let them cool on the baking rack.
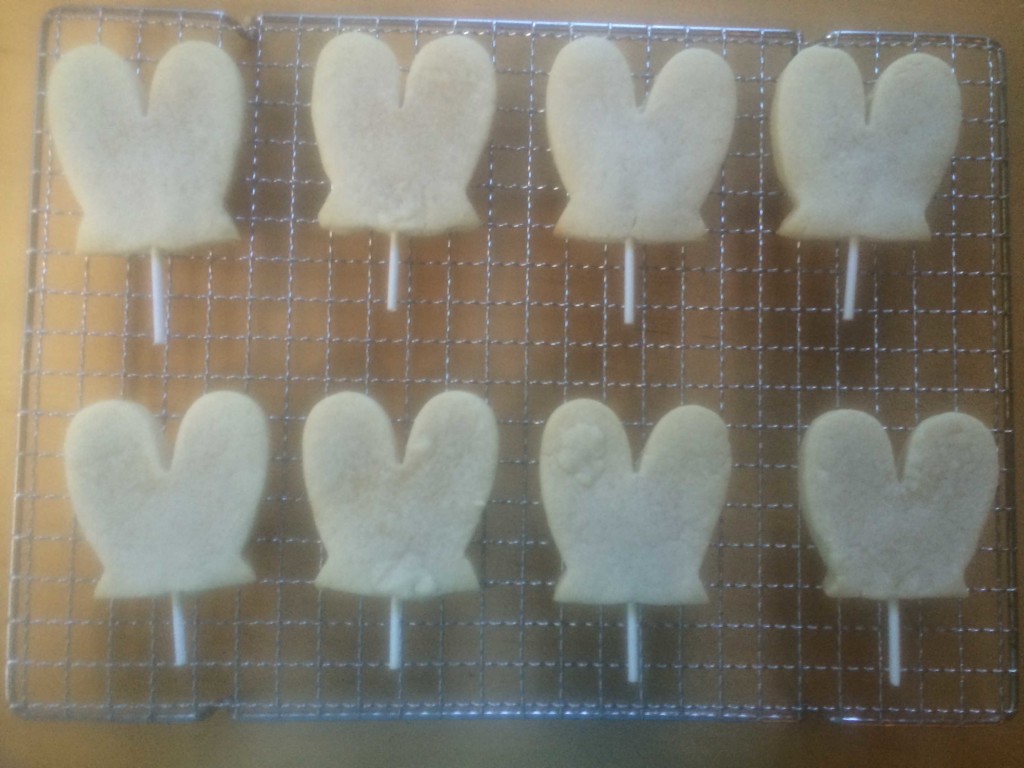
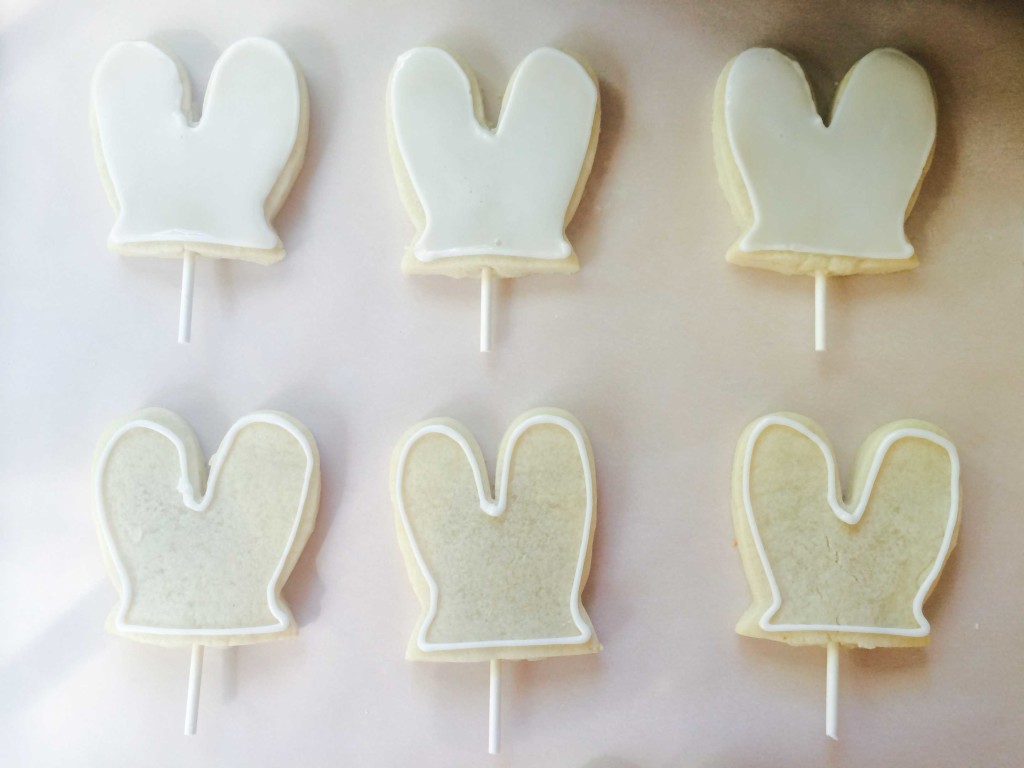
Now onto the icing! I iced these the next day to break up the steps a bit but you could do them the same day or even freeze the cookies and then ice them a few days later!
Once all the cookies were iced I let the cookie pops dry (I iced my cookies 2 days before the party so they had two days to dry, while you could wait less I would make them at least 24 hours before your event so they have plenty of time to dry). I have found they are dry 24 hours later but if you want to package them for some reason you need to wait 48 hours so I always try and ice my cookies 48 hours in advance so there are no mishaps!
Then I make my cupcake icing and take out my cupcakes from the freezer and ice them while still frozen so the frosting is less likely to get all crumby.
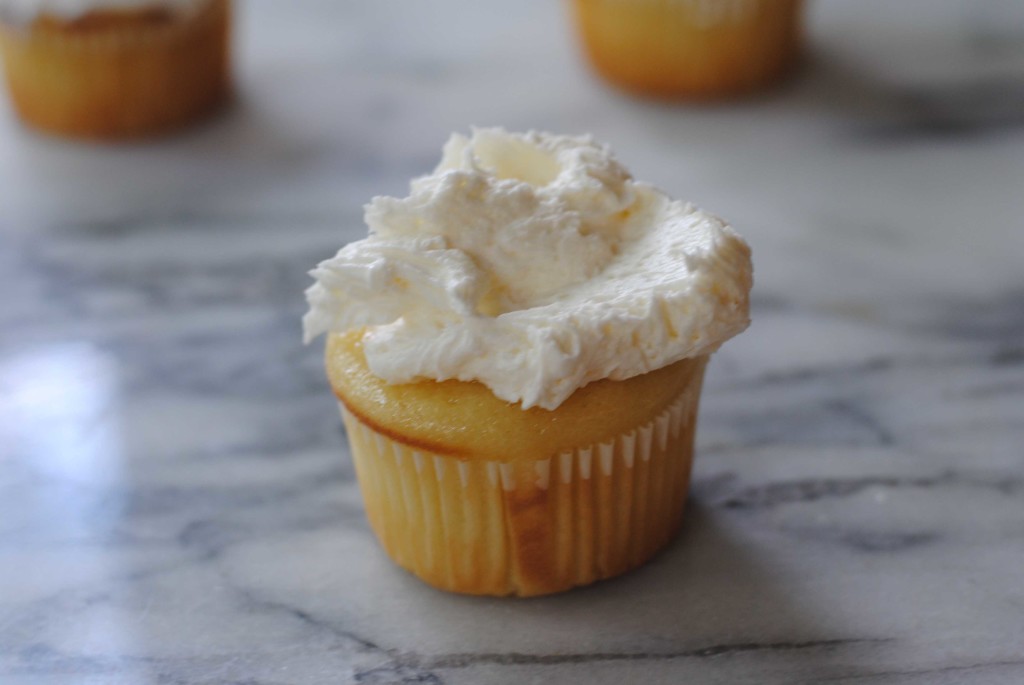
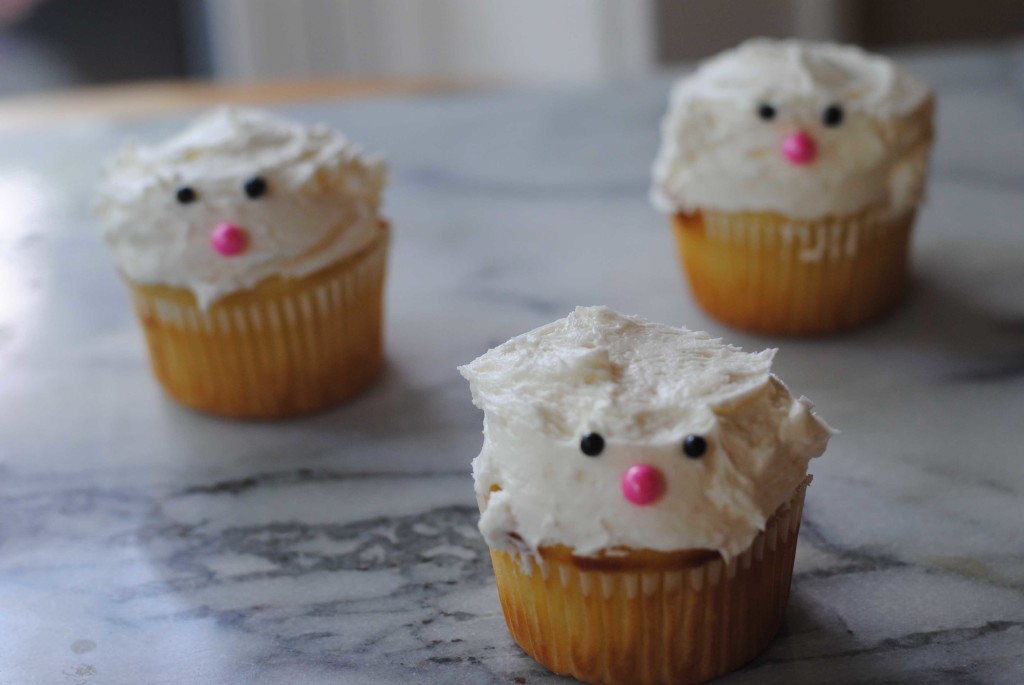
Next, I add the eyes and nose with the black and pink sprinkles:
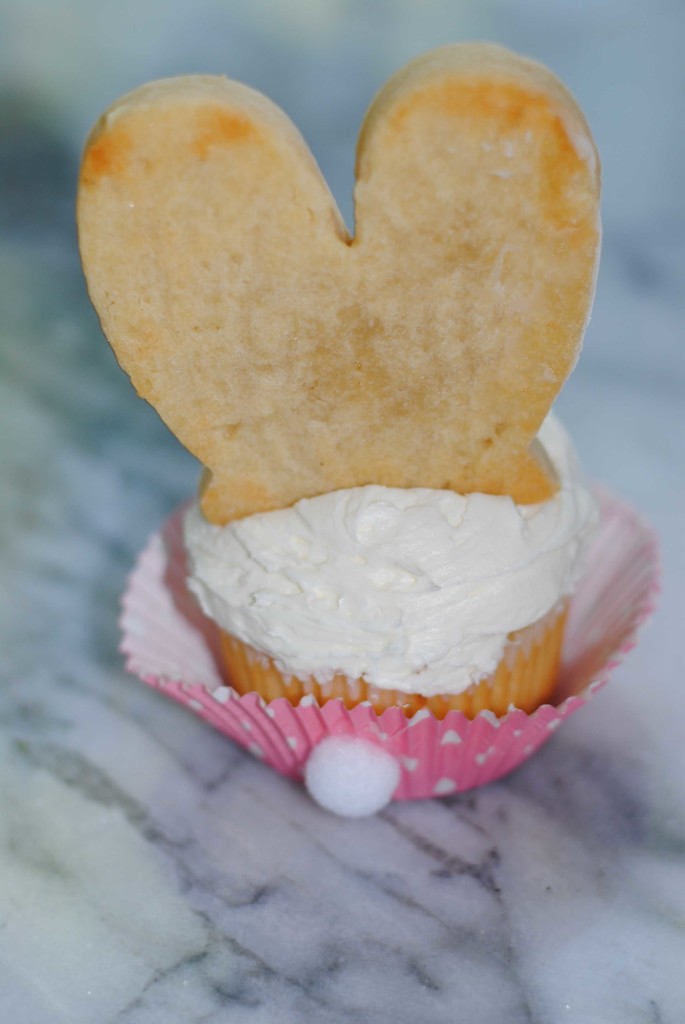
 And then the piece de resistance….I add the bunny ears cookie pops!
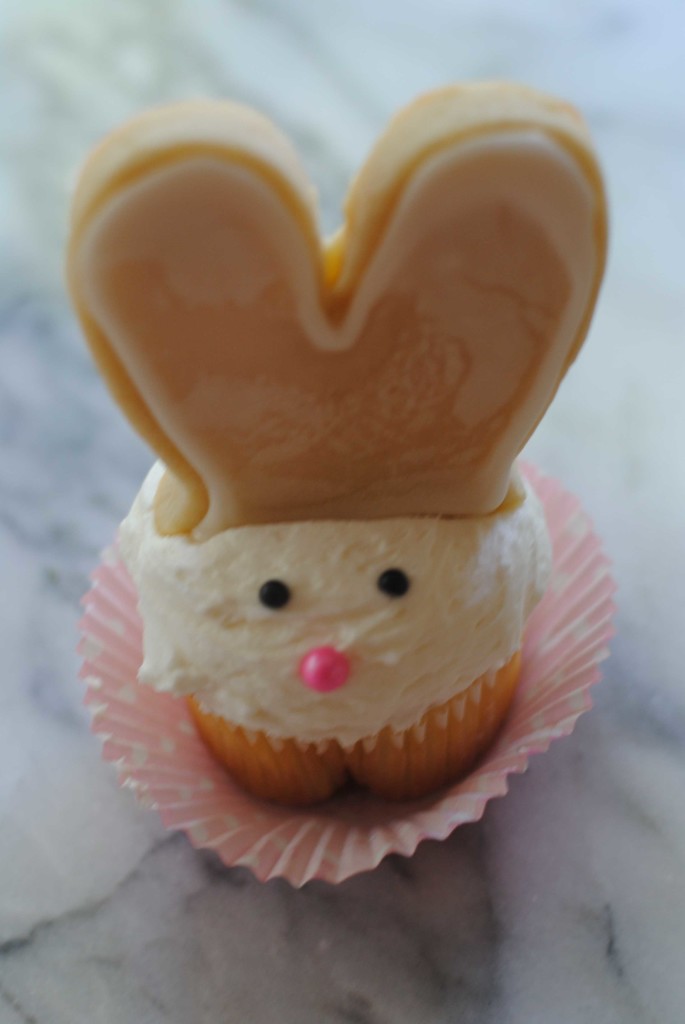
And of course I couldn’t resist adding an extra cupcake wrapper with a cute little pompom bunny tail because is it really a bunny without a cute little tail?!
Hop hop!
- 2 1⁄2 cups cake flour
- 2 cups sugar
- 2 cups Italian Custard Cream (see recipe below)
- 3⁄4 cup vegetable oil
- 2 1⁄4 teaspoons baking powder
- 1 teaspoon pure vanilla extract
- 1/2 teaspoon of salt
- 4 extra-large eggs, at room temperature – Note – EXTRA-LARGE eggs…most baking recipes use large eggs
- 1 cup whole milk
- cupcake liners
- 1. Position a rack in the center of the oven, and preheat the oven to 350°F.
- 2. Put the flour, sugar, custard cream, if using, vegetable oil, baking powder, vanilla, and salt in the bowl of a stand mixer fitted with the paddle attachment. (If you don’t have a stand mixer, you can put the ingredients in a bowl, and use a hand mixer with the blending attachments, but take extra care to not overmix.) Mix on slow just until the ingredients are blended together, a few seconds, then raise the speed to low-medium and continue to mix until smooth, approximately 1 additional minute.
- 3. With the motor running, add 1 egg at a time, adding the next one after the previous one has been absorbed into the mixture. Stop the motor periodically and scrape the bowl from the bottom with a rubber spatula to integrate the ingredients, and return the mixer to low-medium speed. After all the eggs are added, continue to mix for an additional minute to ensure the eggs have been thoroughly mixed in. This will help guarantee that the sugar is dissolved and that the flour has been thoroughly mixed in.
- 4. With the motor running, add the milk, 1⁄2 cup at a time, stopping the motor to scrape the sides and bottom between the two additions. Continue to mix for another minute or until the mixture appears smooth.
- 5. Put cupcake liners in cupcake tin.
- 6. Fill cupcake liners with the cake batter. I use an ice cream scoop and put 2 scoops of batter in each cupcake liner.
- 7. Bake the cupcakes for 20 minutes.
- 8. Remove the cupcakes from the oven and let cool. Refrigerate or freeze until ready to decorate.
- 2 1/2 cups whole milk
- 1 tablespoon pure vanilla extract
- 1 cup sugar
- 2/3 cup cake flour, sifted
- 5 extra-large egg yolks – note the extra-large eggs as most baking recipes use large eggs
- 2 teaspoons of salted butter- note the salted butter as a lot of baking recipes use unsalted butter
- 1. Put the milk and vanilla in a saucepan and bring to a simmer over medium heat.
- 2. In a bowl, whip together the sugar, flour and egg yolks with a hand mixer. Ladle the cup of milk-vanilla mixture into the bowl and beat to temper the yolks.
- 3. Add the yolk mixture to the pot and beat over medium heat with the hand mixer until thick and creamy, about 3 minutes. As you are beating, move the pot on and off the flame so you don’t scramble the eggs.
- 4. Remove the pot from the heat, add the butter and whip for 2 minutes to thicken the cream.
- 5. Transfer to a bowl. Let cool, cover with plastic wrap and refrigerate for at least 6 hours.
- Will keep for one week.
- 3 cups all-purpose flour (15 1/8 oz )
- ½ teaspoon salt
- 1 cup (2 sticks) unsalted butter, softened
- 1 cup sugar (7 ¾ oz)
- 1 large egg
- 2 teaspoons vanilla
- Making the dough!
- 1. Whisk together the flour and salt in a medium bowl and set aside.
- 2. Using your mixer (with the paddle attachment), cream together the butter and sugar
- until the mixture is light and fluffy. Add the egg and vanilla and mix until well blended.
- 3. With the mixture on low, gradually add the flour mixture to the butter mixture until
- the two are thoroughly blended.
- 4. Turn out the dough onto the work surface and divide it into two or three equal portions. Form each one into a rough disk. Now you are ready to roll, chill and cut out the cookie sheets.
- **Before I roll out the cookie sheets, I like to put the dough disks plastic wrap in the fridge overnight, as I like to break up my baking steps. You can make the dough up to 3 days in advance even as it can stay in there for up to 3 days OR you can freeze the dough in flattened disks for up to two months. Although, make sure to thaw the frozen dough overnight in the fridge.**
- Rolling out the dough and baking the cookies!
- 5. Preheat oven to 350 when ready to roll out the dough.
- 6. Then, place a cookie-sheet-sized of wax paper or parchment on your rolling surface, place
- the dough disk in the middle, then place another cookie-sheet size of wax paper on top.
- 7. Place ¼ inch cookie slats on the edges of the paper (I just went to Home Depot and got two paint stirrers and taped them together and used that as my cookie slats) and use a rolling pin to slightly flatten the dough across the paper.
- 8. Slide the rolled out piece of dough (paper and all) into a cookie sheet and refrigerate it until it’s firm (approximately 20 to 30 minutes). Repeat with other dough disks.
- 9. When the dough is firm, remove it from the fridge and put it on a flat work surface. Cut out the cookie dough shapes with your desired cookie cutter. For me, I used the ears portion of the bunny cookie cutter this time. Then, using a small offset spatula, carefully move cut out cookie to a cookie sheet covered in parchment paper.
- 10. Bake sugar cookies between 6 and 9 minutes. For smaller cookies, 6 minutes; for medium to large sized cookies, 9 minutes.
- 11. Transfer cookie sheet to a baking rack. Let cool for 5 to 10 minutes.
- 12. Then transfer individual cookies to another baking rack to cool.
- 2 ½ inch cookies – about 48
- 3 inch cookies – about 37
- 4 ½ inch cookies – about 18
- Icing for piping-
- 2 cups or 8 5/8
- oz of confectioners sugar
- 4 teaspoons of meringue powder
- 3 tablespoons warm water
- 1 teaspoon of vanilla
- Icing for flooding-
- 2 cups ( 8 5/8 oz) confectioners sugar
- 4 teaspoons
- meringue powder
- 6 tablespoons warm water
- 1. To make the royal icing for piping, combine all ingredients in a bowl. Mix ingredients with a spatula. Divide up piping icing into different Tupperware containers based on how many colors you need (make sure to cover with lids so the icing doesn’t dry up). For these cookie pops I just used the natural color of the icing for the ears.
- 2. To make the royal icing for flooding, combine all ingredients in a bowl. Mix ingredients with a spatula. Again, divide up the icing in Tupperware containers based up on the number of colors you need. Use food coloring to achieve desired colors. Again, just used the natural color of the icing for the ears.
- 3. After you colored your icing, pour the flooding icing into squeeze bottles, and put
- piping icing into pastry bags with coupler and desired pastry tip. I use a size 1 or 2 pastry tip to pipe the icing along the edge of my sugar cookie.
- 4. Pipe and flood your cookies.
- 5. Let cookies dry for at least 24 hours before you stack/put cookies in decorative baggies/boxes (Ideally I like to wait 48 hours for this though!). Or in this case...push the cookie pops into the tops of your bunny cupcake!
Pom Poms to attach to cupcake liners
Pink Dragee “Noses” – no longer available on amazon but I used 7mm Candy Beads in the color of Pearl Pink from Crispie Sweets

