Christmas is in full effect in our house…baking, crafting and Christmas card making! Three of my favorite activities:). Needless to say this is definitely my favorite time of year!
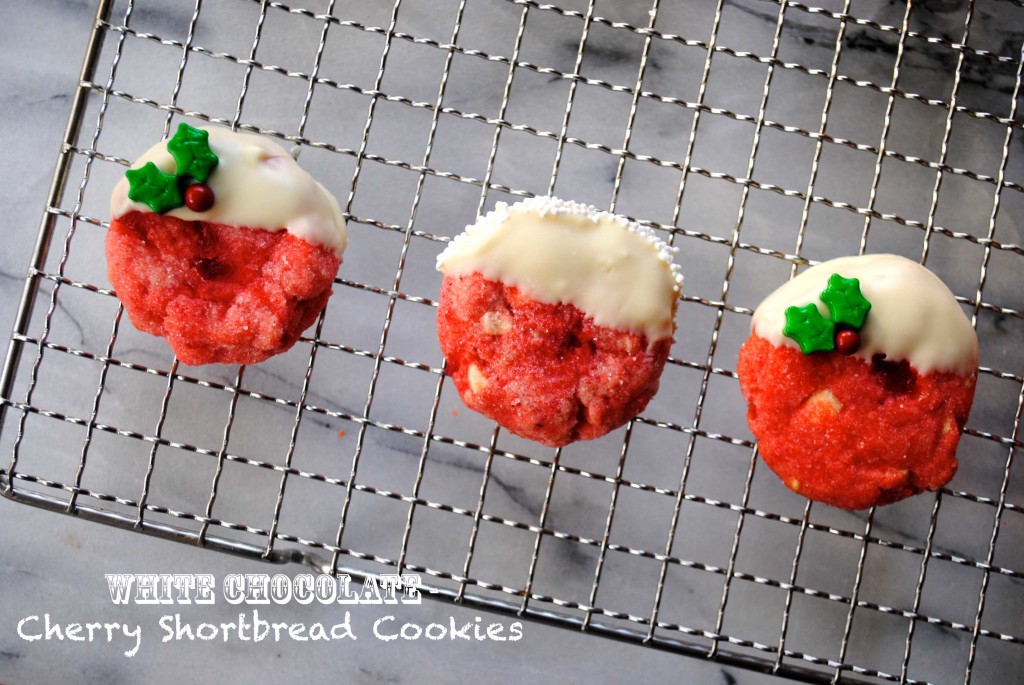 Every day I have been trying to have a Christmas themed activity. While they are mostly craft related with my Emma, I have also been baking up a storm. The other day I made these delicious cookies and I can see them quickly becoming my new favorite… perfect for any holiday table or cookie swaps that you may be attending. In fact, I may need to bring them to one of my cookie swaps this year:).
The original version calls for almond extract but with all the nut allergies these days I made mine with vanilla extract so they are nut free. However, I can imagine a hint of almond in these cookies would be tasty too.
Please note that you will need a pastry cutter. But if you are like me the first time I made these and don’t have a pastry cutter you can use one of your mixer attachments from a regular hand mixer or the paddle attachment from your kitchen aide mixer ….either will work just fine.
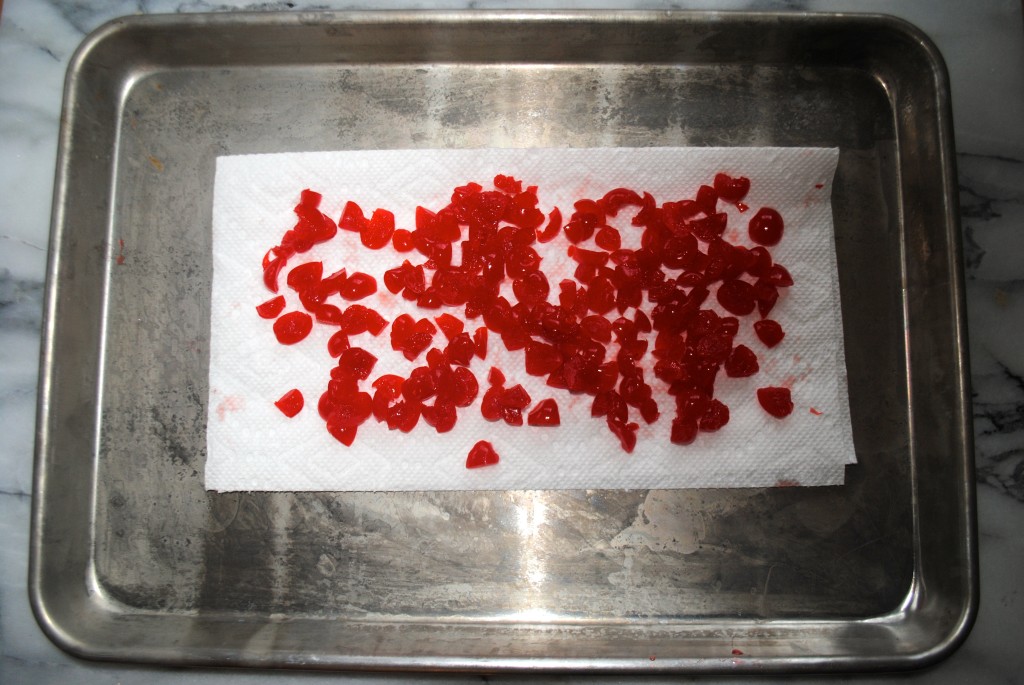
To make these cookies you first chop up 1/2 cup of maraschino cherries and let them dry on a paper towel so they do not add any additional moisture to the cookie dough.
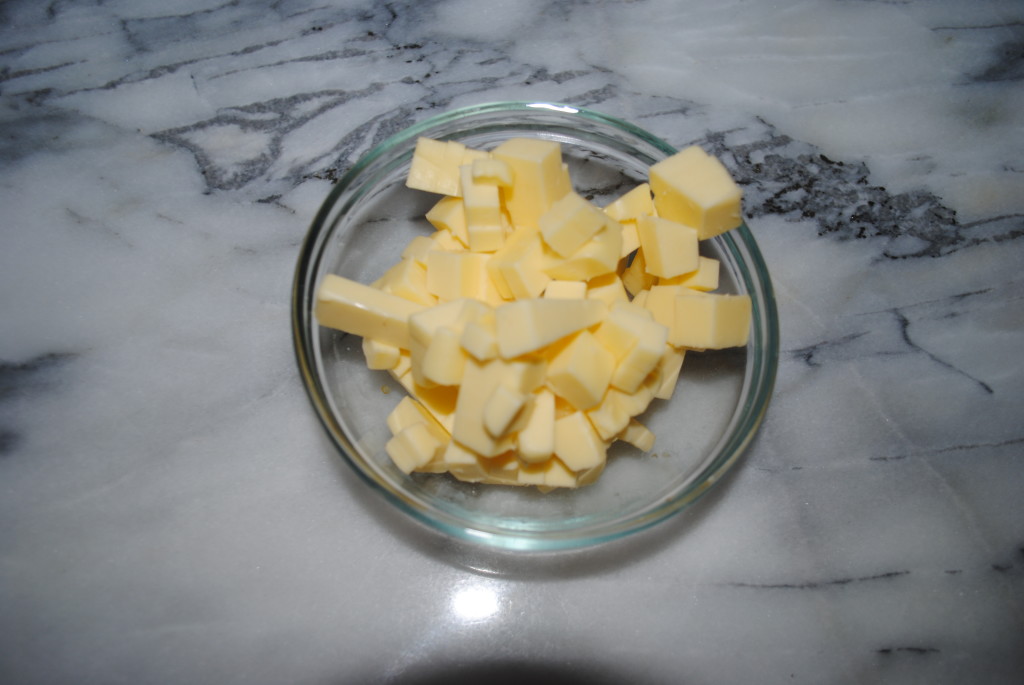
Then preheat your oven to 350 degrees and measure out your flour and sugar. Next take your cold butter out of the fridge and chop it up very small (I used salted butter as the recipe did not call for any additional salt).
With the pastry cutter (or one of the substitutes) you mash the butter into the flour and sugar mixture until it is in small crumbles…(if you look very closely in the photo below you can see the flour underneath the chopped white chocolate and cherries). Then as you can see from the photo, add the cut up cherries and white chocolate. Throw in some vanilla extract and if you would like…a couple drops of red food coloring and mix it up. Green food coloring could also be cute to have a white, green and red cookie…maybe a Grinch cookie?!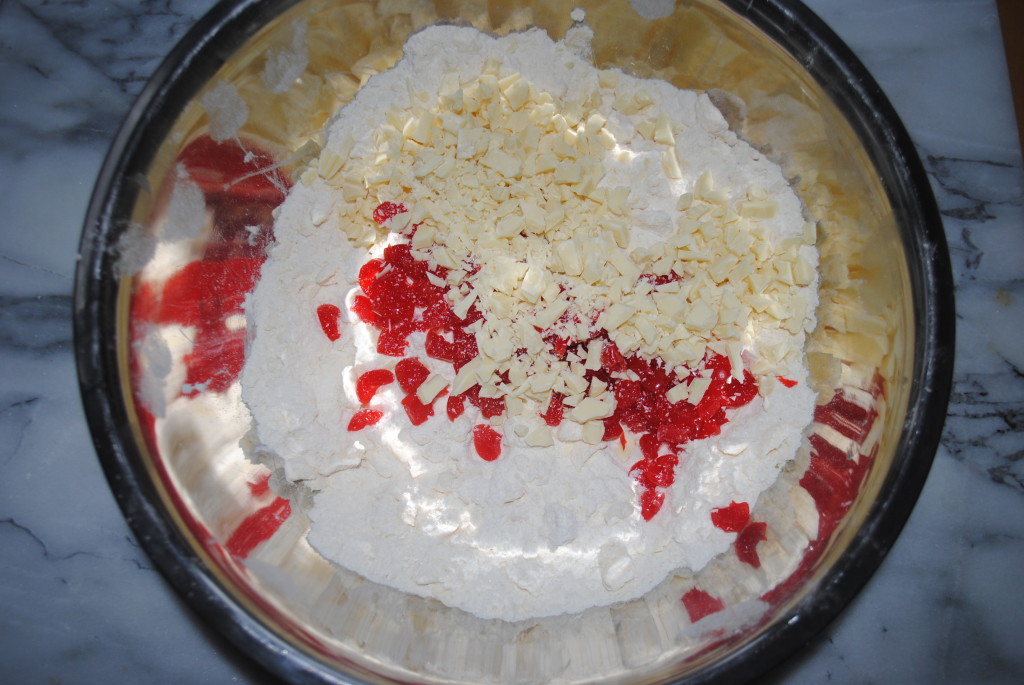
Next knead the dough. It is VERY crumbly. So crumbly that the first time I made it I thought I did something wrong. But have no fear, it will come together after a few minutes of kneading. I even broke up my dough into 3 batches and kneaded each batch separately and then at the end combined the 3 pieces to make one big lump of cookie dough.
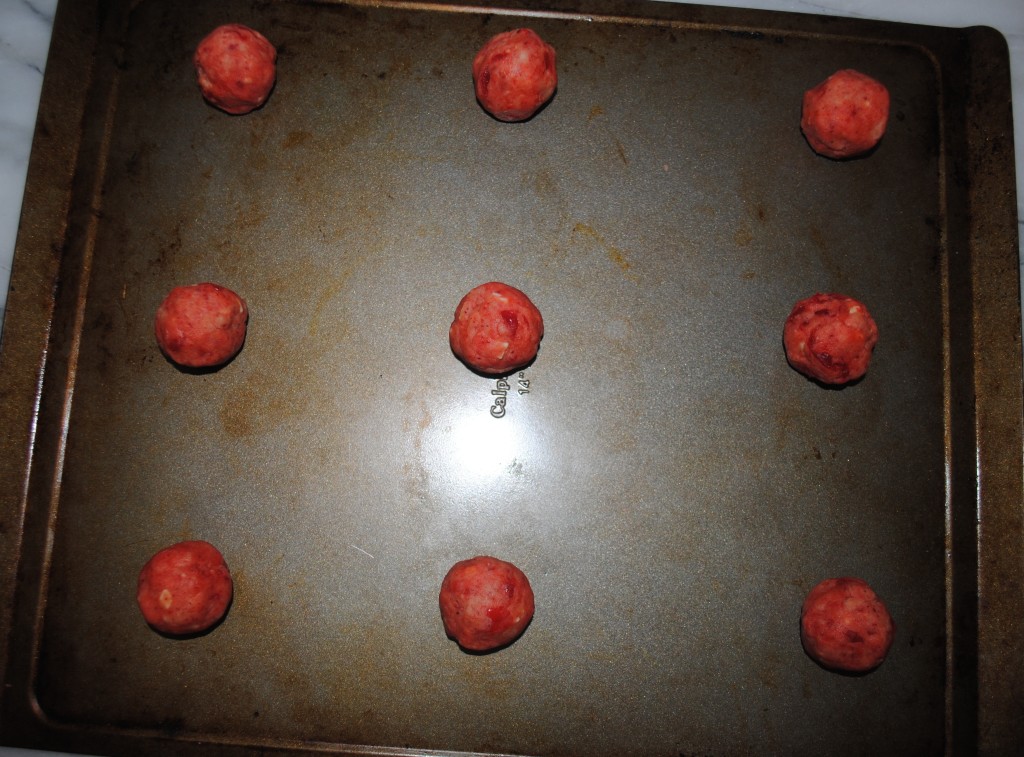
Next, make 1 inch balls of dough and place each ball of dough on an ungreased cookie sheet…make sure to leave a good amount of space between each cookie. Then take the bottom of a glass cup and dip in granulated sugar and press into the center of each cookie so it forms a circle with a diameter of approximately 2 inches. I also sprinkled a little extra granulated sugar on top to give them a nice little extra sparkle.
Bake each cookie for 10 to 12 minutes. I tried out one cookie at 10 minutes, then 11 minutes then 12 and found the best time for my oven was 12 minutes but ovens will vary slightly so I always recommend testing out one or two cookies to determine which temperature is best for your oven (I even do a tester cookie with recipes I have made before to make sure everything goes smoothly).
Then rest your baked cookies on a baking rack to cool. I leave them on the baking tray for a few minutes and then transfer them to another baking rack after a few minutes.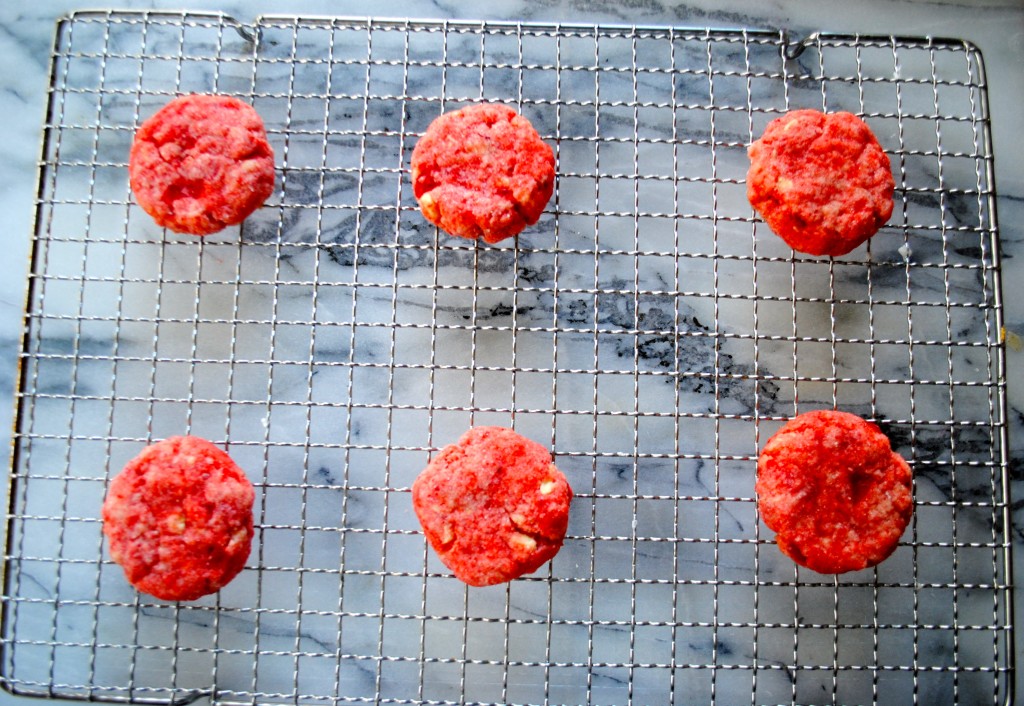
Once the cookies have cooled. Mix 8 ounces of chopped white chocolate with 2 teaspoons of shortening in a saucepan over low heat.
I have also used candy melts instead of the white chocolate and shortening but I think the white chocolate and shortening melts nicer, tastes better and looks prettier. But in pinch white candy melts work.
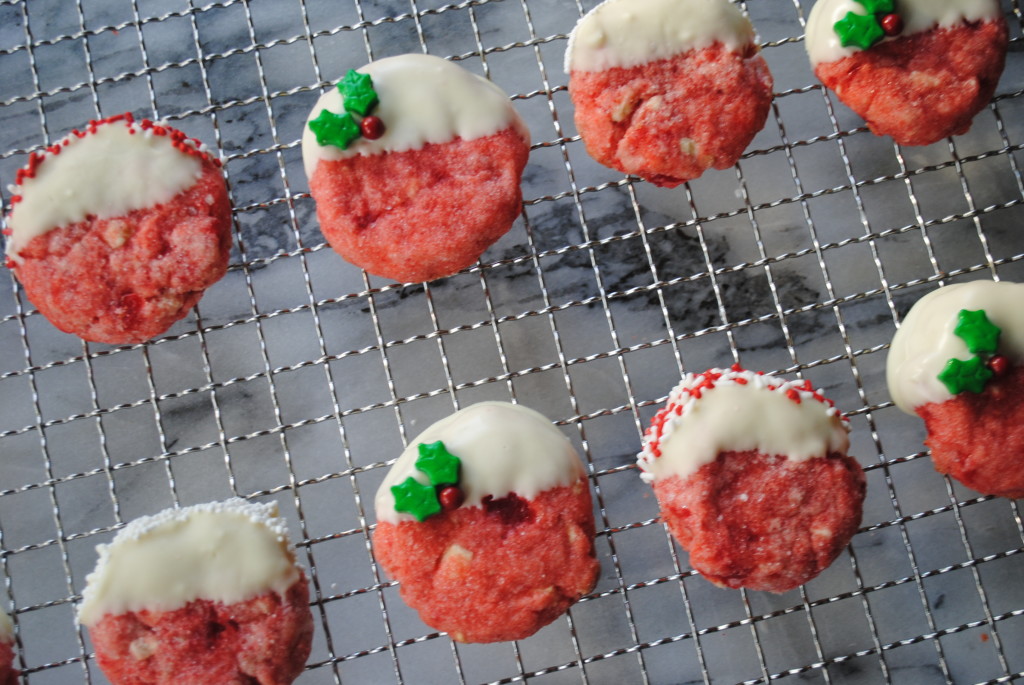
Stir chocolate until melted and smooth. Then remove the saucepan from the heat and dip cookies halfway in. This step is very important, otherwise your chocolate will get too hot. (In addition, make sure to have your wax paper and sprinkles set up next to the saucepan before you melt the chocolate as you have to move quickly so the chocolate does not harden). After the cookie is dipped in the white chocolate, tap off any excess and roll the edge in a plate of sprinkles. Place cookies on parchment paper to dry.
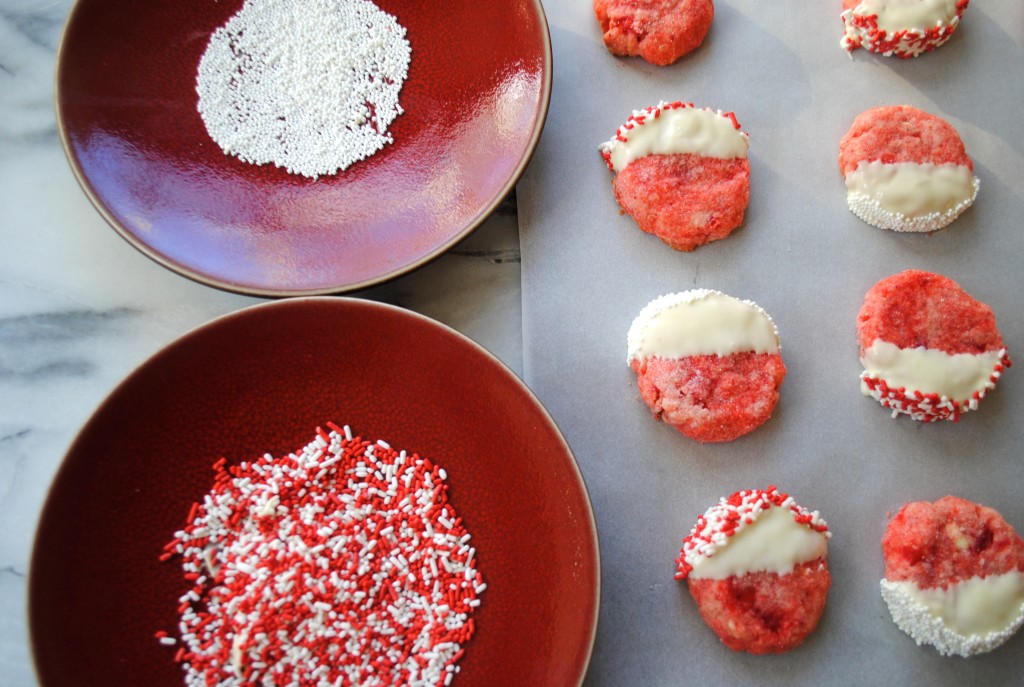
If needed, take the remaining 4 ounces of white chocolate and 1 tsp of shortening and mix over low heat. Dip the remaining cookies in the chocolate and sprinkles. Then dry them on parchment or wax paper.
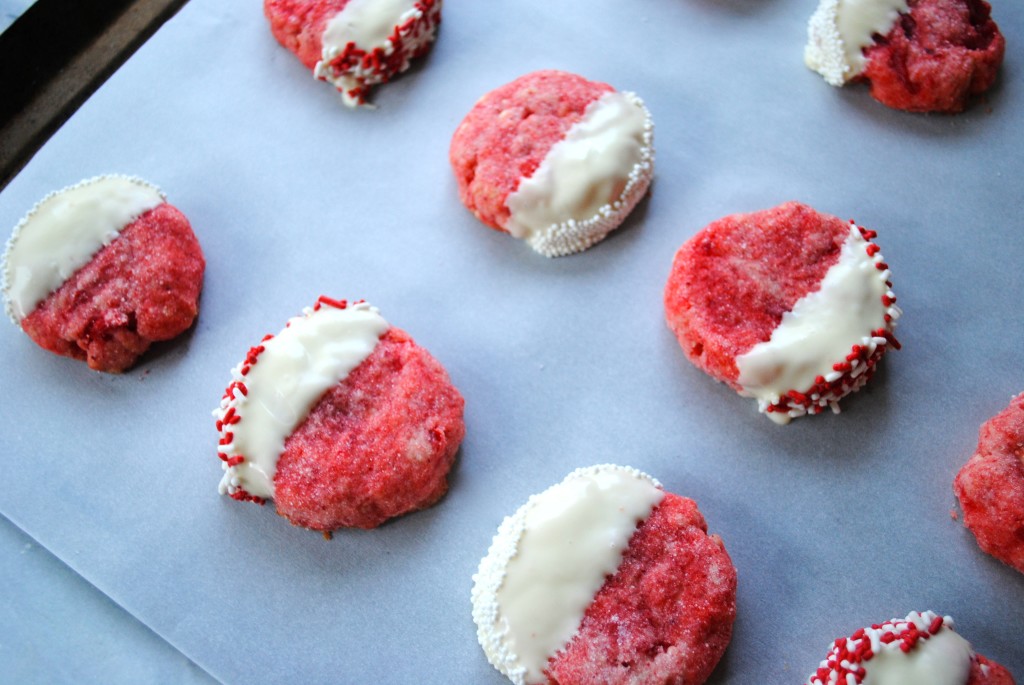
Then, as my daughter would say, “TA-DA”!! Your cookies are done!! Enjoy!!

- 1/2 cup of maraschino cherries, drained and finely chopped
- 16 ounces of white chocolate baking squares, finely chopped (I like and use Ghiradelli white chocolate baking squares)
- 2 1/2 cups or 12 oz of all-purpose flour
- 1/2 cup or 3 3/4 oz of granulated sugar (plus extra for dusting the tops of cookies)
- 1 cup of cold salted butter
- 1/2 teaspoon of vanilla extract
- 2+ drops of red food coloring (or green - either is optional!)
- 3 teaspoons of shortening
- white nonpareils and/or red, white and/or green sprinkles (also optional but it makes for a pretty cookie!)
- 1. Preheat oven to 325 degrees F.
- 2. Chop 1/2 cup of maraschino cherries then spread the cherries on paper towels to drain well.
- 3. Chop 4 oz of the white chocolate and set aside.
- 4. In a large bowl, combine flour and sugar.
- 5. Chop up cold butter in small pieces. Then using a pastry cutter, cut in the butter until mixture resembles fine crumbs.
- 6. Stir in drained cherries and 4 ounces (2/3 cup) of the chopped white chocolate. Stir in vanilla extract and, if desired, food coloring. Knead until smooth and form into a ball (dough will be crumbly at first, but will come together as you work the dough with your hands).
- 7. Shape dough into 1 inch balls. Place balls 2 inches apart on an ungreased cookie sheet. Using the bottom of a drinking glass dipped in sugar, flatten balls to 2 inch rounds. Sprinkle a little extra sugar on the tops of cookies for a little more sparkle.
- 8. Bake in preheated oven for approximately 12 minutes. Cool for a few minutes on cookie sheet. Then transfer cookies to a baking rack and let cool.
- 9. In a small saucepan, combine 8 ounces white chocolate and 2 teaspoons of shortening. Stir over low heat until melted. Dip half of each cookie into chocolate, allowing excess to drip off. If desired, roll dipped edge in nonpareils and/or edible glitter. Place cookies on parchment paper until dry.
- 10. If needed, melted the remaining 4 ounces of white chocolate and 1 teaspoon of shortening in the saucepan (again over low heat) and dip any remaining cookies in melted chocolate and sprinkles.
- 11. Let chocolate dry and then they are ready to serve!

