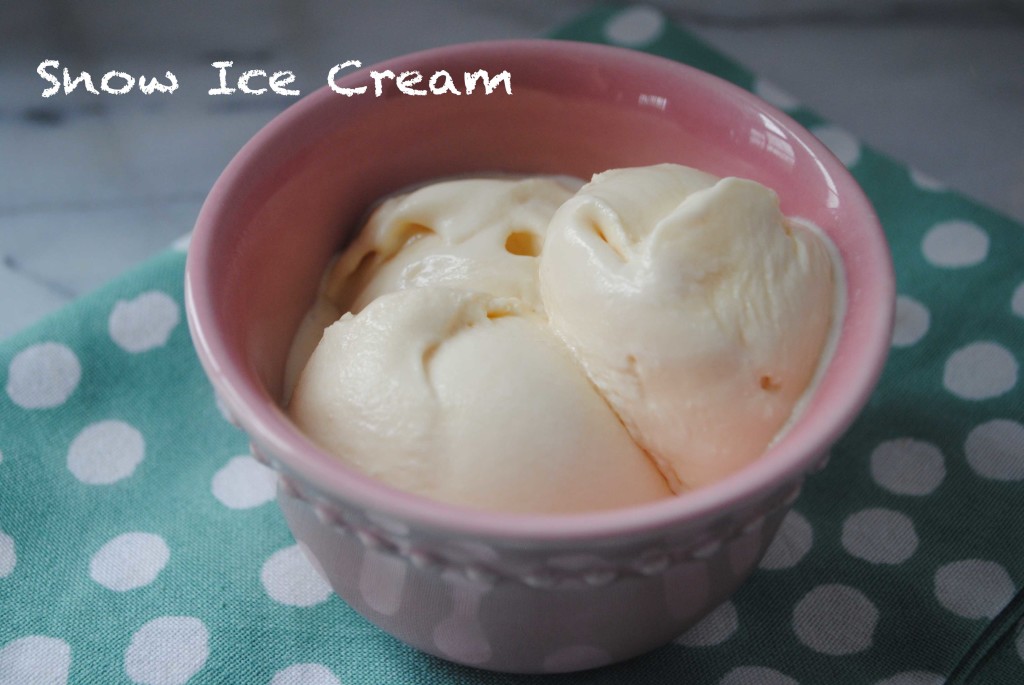
Happy Spring?! Never would I have imagined that it would snow on the first day of spring and that I would be posting this recipe for snow ice cream. But, I guess you can never say never. I figure this is one of those making lemonade out of lemons moments.
This recipe is super easy and super yummy. If you have kids this would be really fun for them to get involved. I actually made this recipe after the last snow storm thinking I be sharing it with you next year…but it looks like I was wrong…I’ll be making another batch!
You can eat the ice cream right away without using an ice cream maker and it is delicious but be warned…but it is more liquid-y than standard ice cream this way. So I had some immediately (of course!) then put the rest in the ice cream maker and froze it over night so I could enjoy it another day as well. Putting the snow ice cream in the ice cream maker and freezing over night transforms it into the consistency of normal ice cream. Enjoy!


- 8 cups of snow
- 1 (14 oz) can of sweetened condensed milk
- 1 teaspoon of maple syrup (If you do not have maple syrup you could use vanilla extract, which is what the original recipe calls for.)
- 1. Place snow in a large bowl.
- 2. Pour condensed milk over the snow and add maple syrup.
- 3. Mix to combine.
- 4. Enjoy immediately OR...
- 5. Place snow ice cream or the remainder of the snow ice cream in your ice cream maker and churn accordingly.
- 6. Once the cycle is complete place ice cream in the freezer over night.
Recipe adapted from Paula Deen

