I love celebrating Valentines Day with kids. Absolutely love it. As a teacher in my former pre-baby life I would look forward to making Valentines Day mailboxes with my students and exchanging Valentines. And as you might have guessed, my Valentines would always be in the sugar and butter form…cookies.
Now that I have a kiddo of my own, I am excited to make some Valentines day treats with her! However, given that she is 5 ½ months old I know I have to slow down and wait a few years or so. Regardless, I wanted to do something for her and her little friends in our Mommy group. I found cute little Valentines Day board books that I knew would be perfect. However, Valentines Day just did not seem right without cute edible heart treats.
So, I decided that this year in addition to the board books I would make my sugar cookies with little jolly rancher hearts in the middle for all the mommies. These sugar cookies are the best…so yummy and soft.
If you are more of a crunchy sugar cookie fan, just increase the baking time on my recipe to about 12 to 16 minutes per batch of cookies instead of my suggested 6 to 9 minutes.
If you are more of a crunchy sugar cookie fan, just increase the baking time on my recipe to about 12 to 16 minutes per batch of cookies instead of my suggested 6 to 9 minutes.
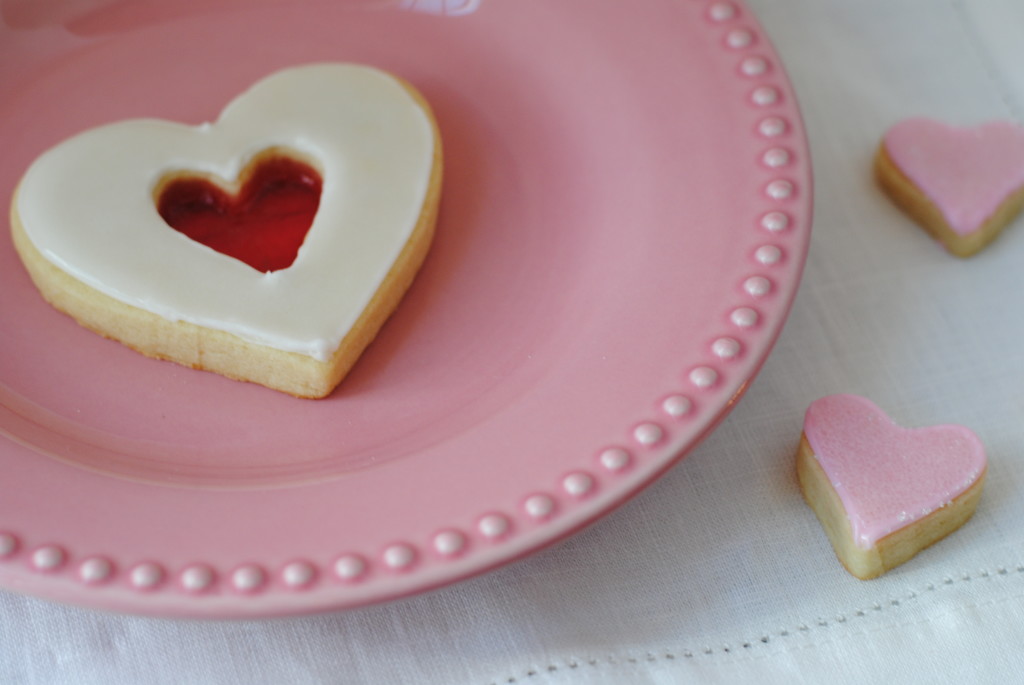
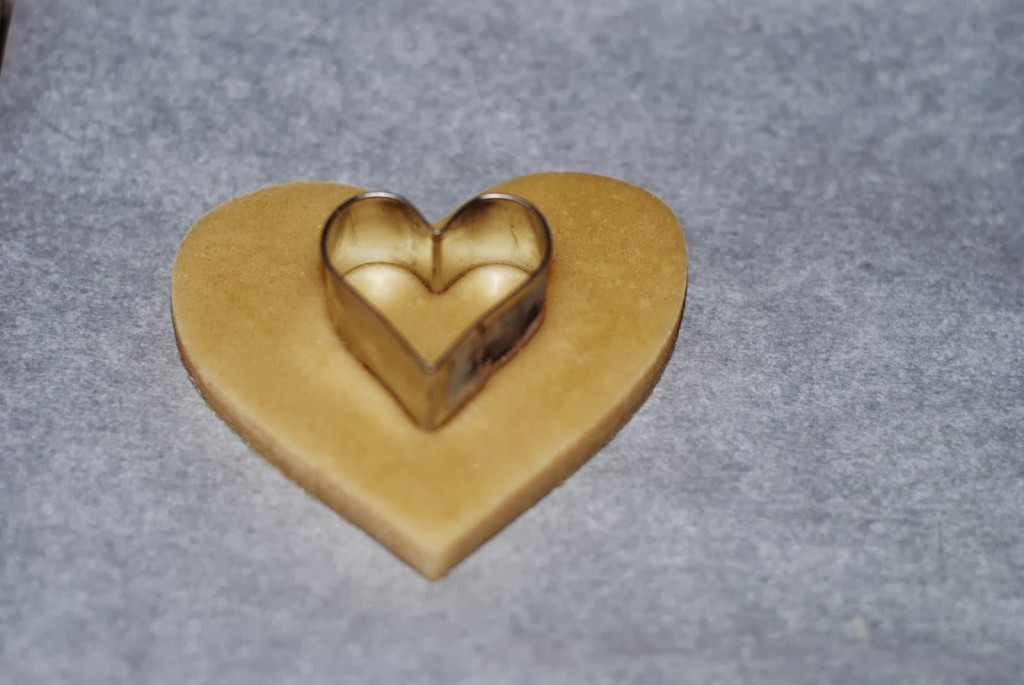
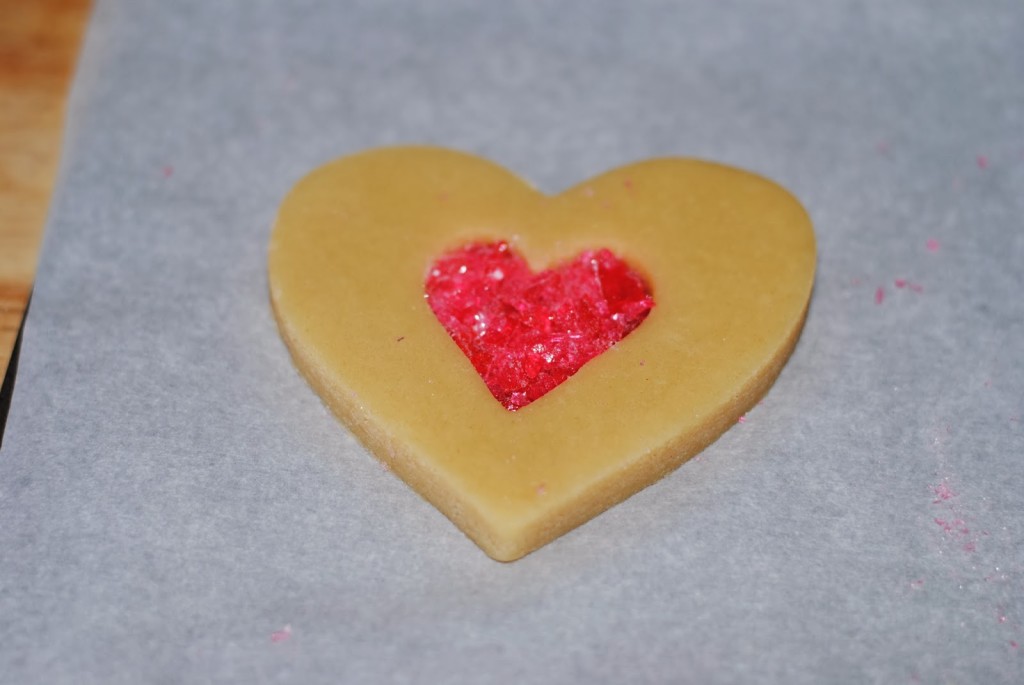
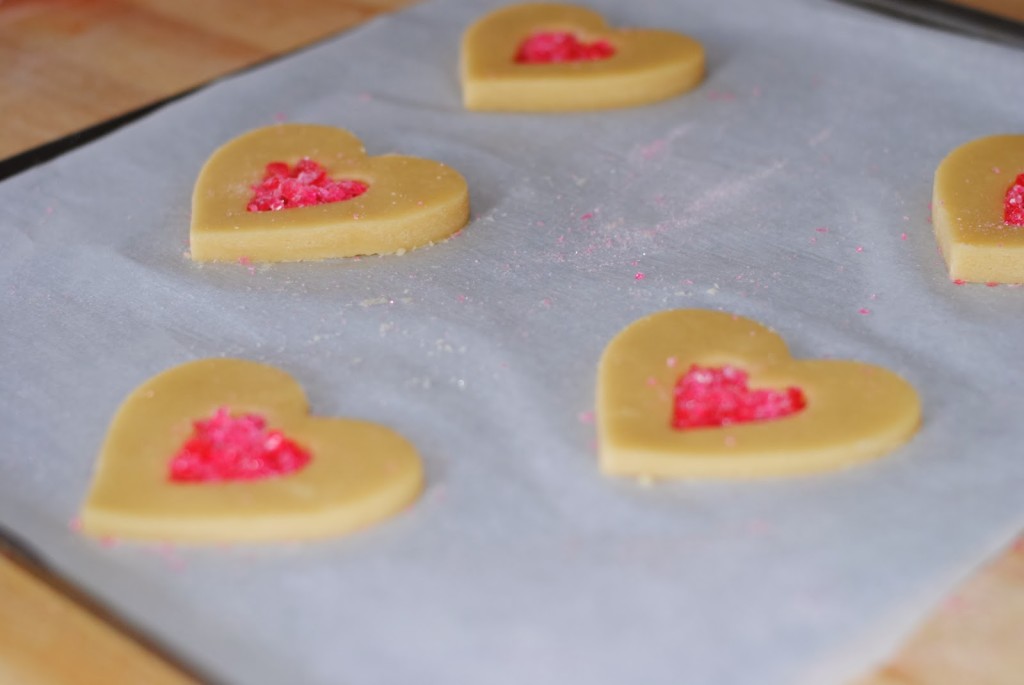
To create a pretty stained glass effect in the center of the cookie, I put cut out the center of the cookie with a smaller cookie cutter and placed the crushed up jolly ranchers in the center and then baked them in the oven. This idea would also work great if creating butterfly cookies, with the crushed jolly ranchers in the wings or at Christmas time with ornament shaped cookies.
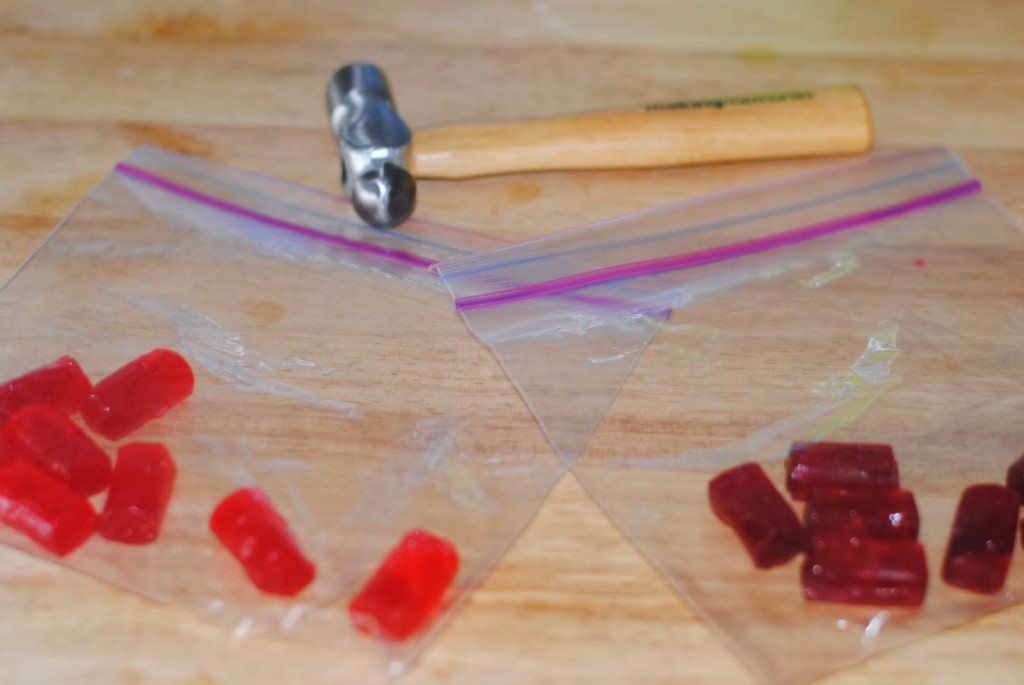
Jolly ranchers in ziploc bags and mini crafting hammer…let the baking and crushing begin!
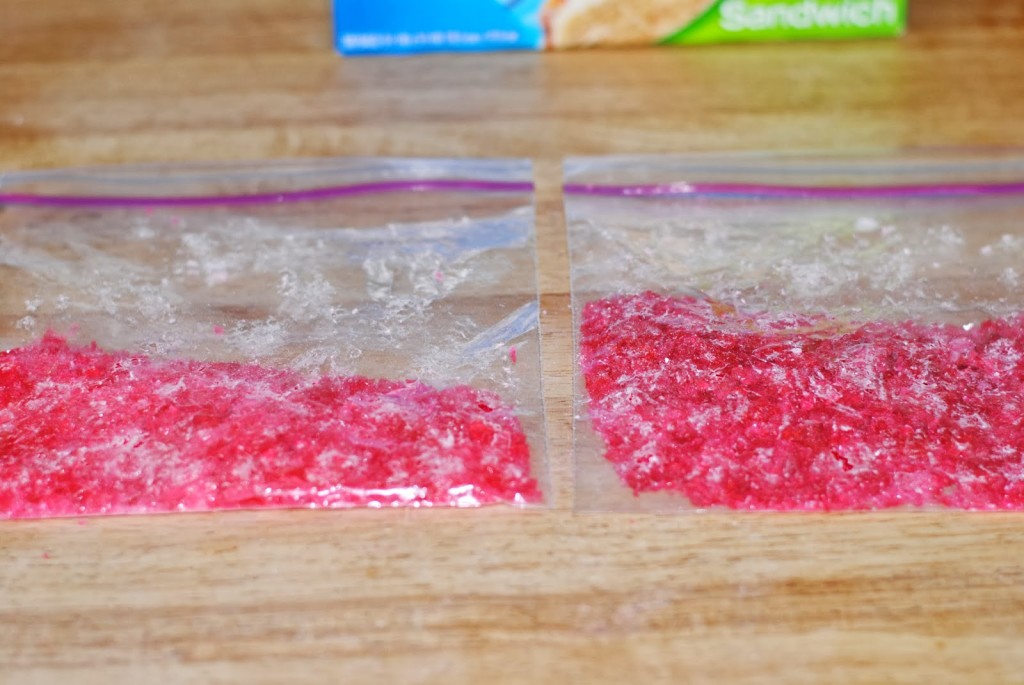
Crushed up jolly ranchers…
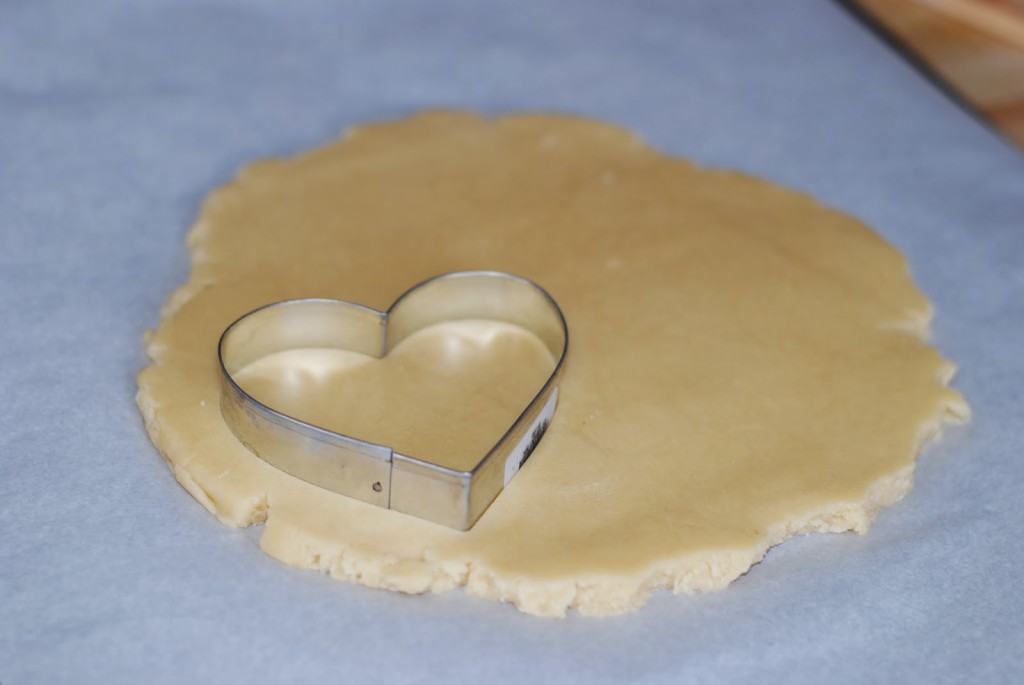
Cutting my cookie out of the dough disk…
Making the sugar cookie hole…
Filling the cookie hole with crushed jolly ranchers…
After all the baking and icing is done!
I have broken down the recipe different steps for you below. To make it easier, I like the bake and decorate my sugar cookies over several days, it really makes the recipe seem more manageable to me that way, but do what is best for you! Also, because this is a more time intensive recipe than other cookie recipes, I save it for holidays and special events. But again, you know best, so do what your sugar cookie cravings tell you.
Rolled Out Sugar Cookie Recipe
Sugar Cookie Ingredients:
3 cups all-purpose flour (15 1/8 oz )
½ teaspoon salt
1 cup (2 sticks) unsalted butter, softened
1 cup sugar (7 ¾ oz)
1 large egg
2 teaspoons vanilla
Royal Icing Ingredients:
For piping-
2 cups or 8 5/8
oz of confectioners sugar
oz of confectioners sugar
4 teaspoons of meringue powder
3 tablespoons warm water
1 teaspoon of vanilla
For flooding-
2 cups ( 8 5/8 oz) confectioners sugar
4 teaspoons
meringue powder
meringue powder
6 tablespoons warm water
Directions:
Making the dough!
1. Whisk together the flour and salt in a medium bowl and set aside.
2. Using your mixer (with the paddle attachment), cream together the butter and sugar
until the mixture is light and fluffy. Add the egg and vanilla and mix until well blended.
until the mixture is light and fluffy. Add the egg and vanilla and mix until well blended.
3. With the mixture on low, gradually add the flour mixture to the butter mixture until
the two are thoroughly blended.
the two are thoroughly blended.
4. Turn out the dough onto the work surface and divide it into two or three equal portions. Form each one into a rough disk. Now you are ready to roll, chill and cut out the cookie sheets.
**Before I roll out the cookie sheets, I like to put the dough disks plastic wrap in the fridge overnight, as I like to break up my baking steps. You can make the dough up to 3 days in advance even as it can stay in there for up to 3 days OR you can freeze the dough in flattened disks for up to two months. Although, make sure to thaw the frozen dough overnight in the fridge.**
Rolling out the dough and baking the cookies!
5. Preheat oven to 350 when ready to roll out the dough.
6. Then, place a cookie-sheet-sized of wax paper or parchment on your rolling surface, place
the dough disk in the middle, then place another cookie-sheet size of wax paper on top.
the dough disk in the middle, then place another cookie-sheet size of wax paper on top.
7. Place ¼ inch cookie slats on the edges of the paper (I just went to Home Depot and got two paint stirrers and taped them together and used that as my cookie slats) and use a rolling pin to slightly flatten the dough across the paper.
8. Slide the rolled out piece of dough (paper and all) into a cookie sheet and refrigerate it until it’s firm (approximately 20 to 30 minutes). Repeat with other dough disks.
9. When the dough is firm, remove it from the fridge and put it on a flat work surface. Cut out the cookie dough shapes with your desired cookie cutter. For me, I used heart shapes this time. Then, using a small offset spatula, carefully move cut out cookie to a cookie sheet covered in parchment paper.
**If you are going to put the crushed jolly ranchers in the center, crush hard candies in a closed ziploc bag. Then cut out hole in middle of the desired cookie on the baking sheet. Fill in cookie hole with crushed candy.
10. Bake sugar cookies between 6 and 9 minutes. For smaller cookies, 6 minutes; for medium to large sized cookies, 9 minutes.
11. Transfer cookie sheet to a baking rack. Let cool for 5 to 10 minutes.
12. Then transfer individual cookies to another baking rack to cool.
Decorating and icing the cookies!
13. To make the royal icing for piping, combine all ingredients in a bowl. Mix ingredients with a spatula. Divide up piping icing into different Tupperware containers based on how many colors you need (make sure to cover with lids so the icing doesn’t dry up).
For Valentines Day this year, I wanted white, red and pink cookies so I divided up the icing three ways. Place a drop or two of food coloring in each container, mix with
spatula. If you would like a darker shade, add another drop or two until you reach the desired shade. Cover container.
For Valentines Day this year, I wanted white, red and pink cookies so I divided up the icing three ways. Place a drop or two of food coloring in each container, mix with
spatula. If you would like a darker shade, add another drop or two until you reach the desired shade. Cover container.
14. To make the royal icing for flooding, combine all ingredients in a bowl. Mix ingredients with a spatula. Again, divide up the icing in Tupperware containers based up on the number of colors you need. Use food coloring to achieve desired colors.
15. After you colored your icing, pour the flooding icing into squeeze bottles, and put
piping icing into pastry bags with coupler and desired pastry tip. I use a 1 or 2 pastry tip to pipe the icing along the edge of my sugar cookie.
piping icing into pastry bags with coupler and desired pastry tip. I use a 1 or 2 pastry tip to pipe the icing along the edge of my sugar cookie.
16. Pipe and flood your cookies.
17. Let cookies dry for 24 hours before you stack/put cookies in decorative baggies/boxes.
18. Enjoy your beautiful cookies!
Yield:
2 ½ inch cookies – about 48
3 inch cookies – about 37
4 ½ inch cookies – about 18
Recipe adapted from Cookie Craft by Valerie Peterson & Janice Fryer

